
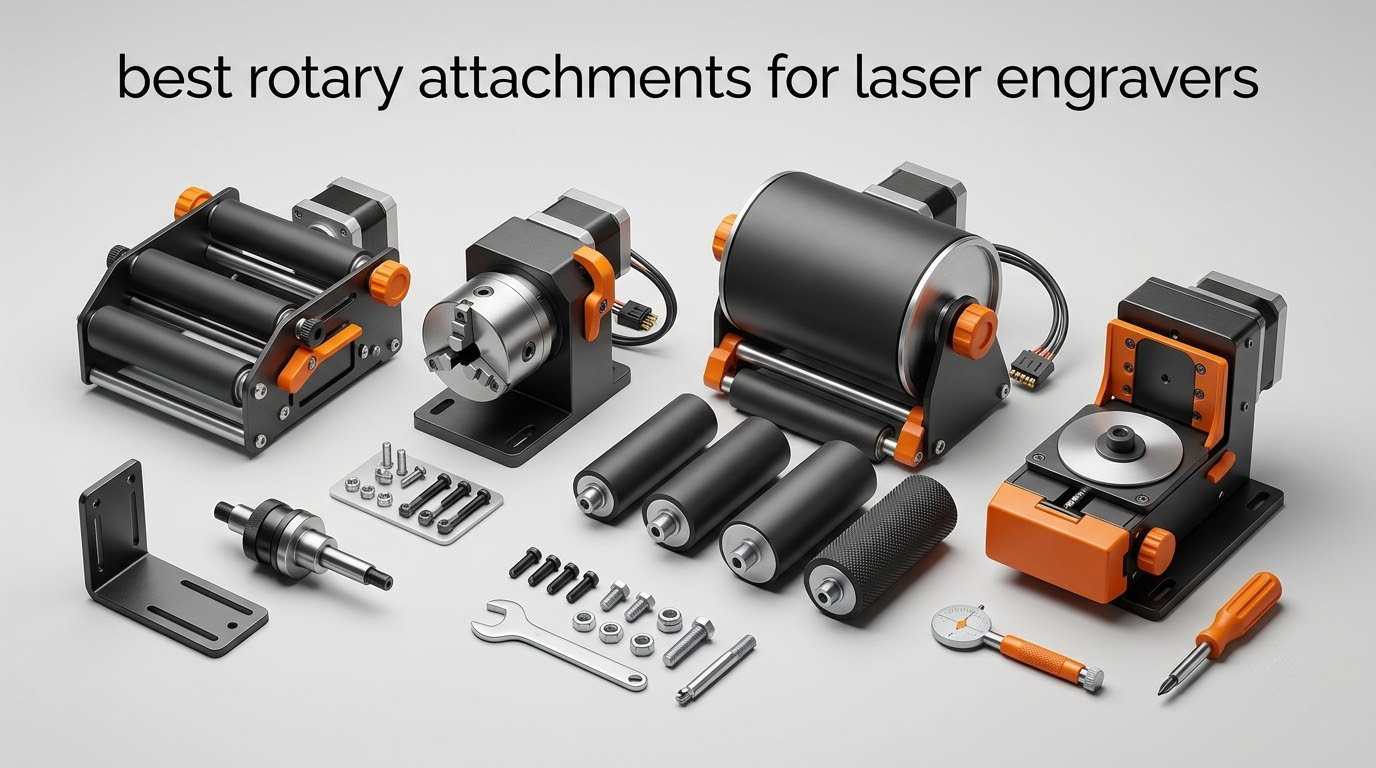
A laser rotary attachment is an add-on that clamps or cradles a round workpiece and spins it on one axis while the laser head stays put, so a single mark wraps continuously around a tumbler, bottle, ring or pen instead of stopping dead at the edge of the bed. For most shops, that one accessory is the difference between only being able to sell flat blanks and being able to sell personalized drinkware and jewelry. If you are still choosing a machine, our guide to the best laser engravers covers the platforms these rotaries plug into.
There are four shapes of hardware to know before you shop. A roller rotary spins the workpiece on rubber-coated drums and suits runs of identical light cylinders. A chuck rotary grips the piece in adjustable jaws, often with a tailstock, and handles heavier or oddly shaped work. A 4-in-1 multi-function unit bundles roller, chuck, sphere and ring modules in one body. A rotary table does not rotate at all; it indexes a part in and out so you can mark many small items in one pass. This roundup covers the first three, because that is where nearly all buyer interest sits in 2026.
One quick disambiguation, since it comes up constantly in search results: a Dremel-style rotary tool is a hand-held engraver for wood and jewelry blanks, not a laser attachment. If you have already been reading about those, the pickup guides to the best rotary tools are a different shopping list entirely.
We put ten of the most-reviewed rotary attachments through their paces in 2026, weighing grip quality, diameter coverage, software friction and what happens after a long production run. The short version: the xTool RA2 Pro is the best rotary attachment for laser engravers overall, the ORTUR roller is the value pick, and the ORTUR YRC1.0 is the one to buy if rings and bracelets are your business.
Table of Contents
Top 3 Picks for the Best Rotary Attachments for Laser Engravers (October 2026)
The three below cover the most common buying situations. If you want one attachment that handles tumblers, glassware, balls and rings without a second purchase, start with the xTool RA2 Pro. If your work is cans, bottles and pipes on a light machine, the ORTUR roller costs a fraction of the premium units and has the largest review base in the group. If you engrave jewelry, the ORTUR YRC1.0 chuck is built around a ring mode and a sphere mode, which is a different design brief from every roller in this list.

xTool RA2 Pro Rotary
- 4-in-1 roller
- chuck
- sphere and ring modules
- 360 degrees per second maximum rotation
- Works with Laserbox Basic
- LaserGRBL and LightBurn
- Adjustable Z-axis and chuck diameter

ORTUR Laser Rotary Roller
- 7-step diameter adjustment from 8mm to 110mm
- LaserGRBL and LightBurn compatible
- Cross-brand after a two-wire swap
- 2.4 pounds

ORTUR YRC1.0 Rotary Chuck
- Chuck
- ring and sphere modes in one unit
- 1-120mm chuck
- 25-150mm sphere
- 11-100mm ring
- 360 degrees per second with 180 degree adjustment
All 10 Rotary Attachments at a Glance
Every pick below is a Y-axis rotary module, which means your machine’s Y travel is taken over while the rotary is connected. Scan the feature column for diameter range and software support before you commit.
| Product | Specifications | Action |
|---|---|---|
| xTool RA2 Pro 4-in-1 Rotary |
|
Check Latest Price |
| ORTUR Laser Rotary Roller |
|
Check Latest Price |
 Longer Rotary Roller with Bracket Longer Rotary Roller with Bracket |
|
Check Latest Price |
 xTool RA3 Smart MagSwap Rotary xTool RA3 Smart MagSwap Rotary |
|
Check Latest Price |
 Creality Rotary Roller Pro 3-in-1 Creality Rotary Roller Pro 3-in-1 |
|
Check Latest Price |
 ACMER M3 Laser Rotary Roller ACMER M3 Laser Rotary Roller |
|
Check Latest Price |
 OMTech 3-Jaw Chuck Rotary Axis OMTech 3-Jaw Chuck Rotary Axis |
|
Check Latest Price |
 AlgoLaser RR2 Rotary Roller AlgoLaser RR2 Rotary Roller |
|
Check Latest Price |
| ORTUR YRC1.0 Rotary Chuck |
|
Check Latest Price |
 Creality Laser Rotary Roller Creality Laser Rotary Roller |
|
Check Latest Price |
1. xTool RA2 Pro: the Best Rotary Attachment Overall
xTool RA2 Pro for xTool S1, F1, F1 Ultra, P2, M1 Ultra and Most Laser Engraver (Must with Riser), Y-axis Rotary Roller for Engraving Cylindrical Objects, Wine Glass, Tumbler, Engraver Accessory
4-in-1 roller, chuck, sphere and ring modules
360 deg/s max rotation
0.45 deg minimum motor angle
7.4 x 3.7 x 18 inches
Pros
- Four working modes in one body
- 4.6 average across 396 ratings
- Centers tumblers and glassware cleanly
- Fast plug-and-play setup
Cons
- Jaw height limits very large tumblers
- Handle mugs can collide with the bed
- Some adjustment range not usable in practice
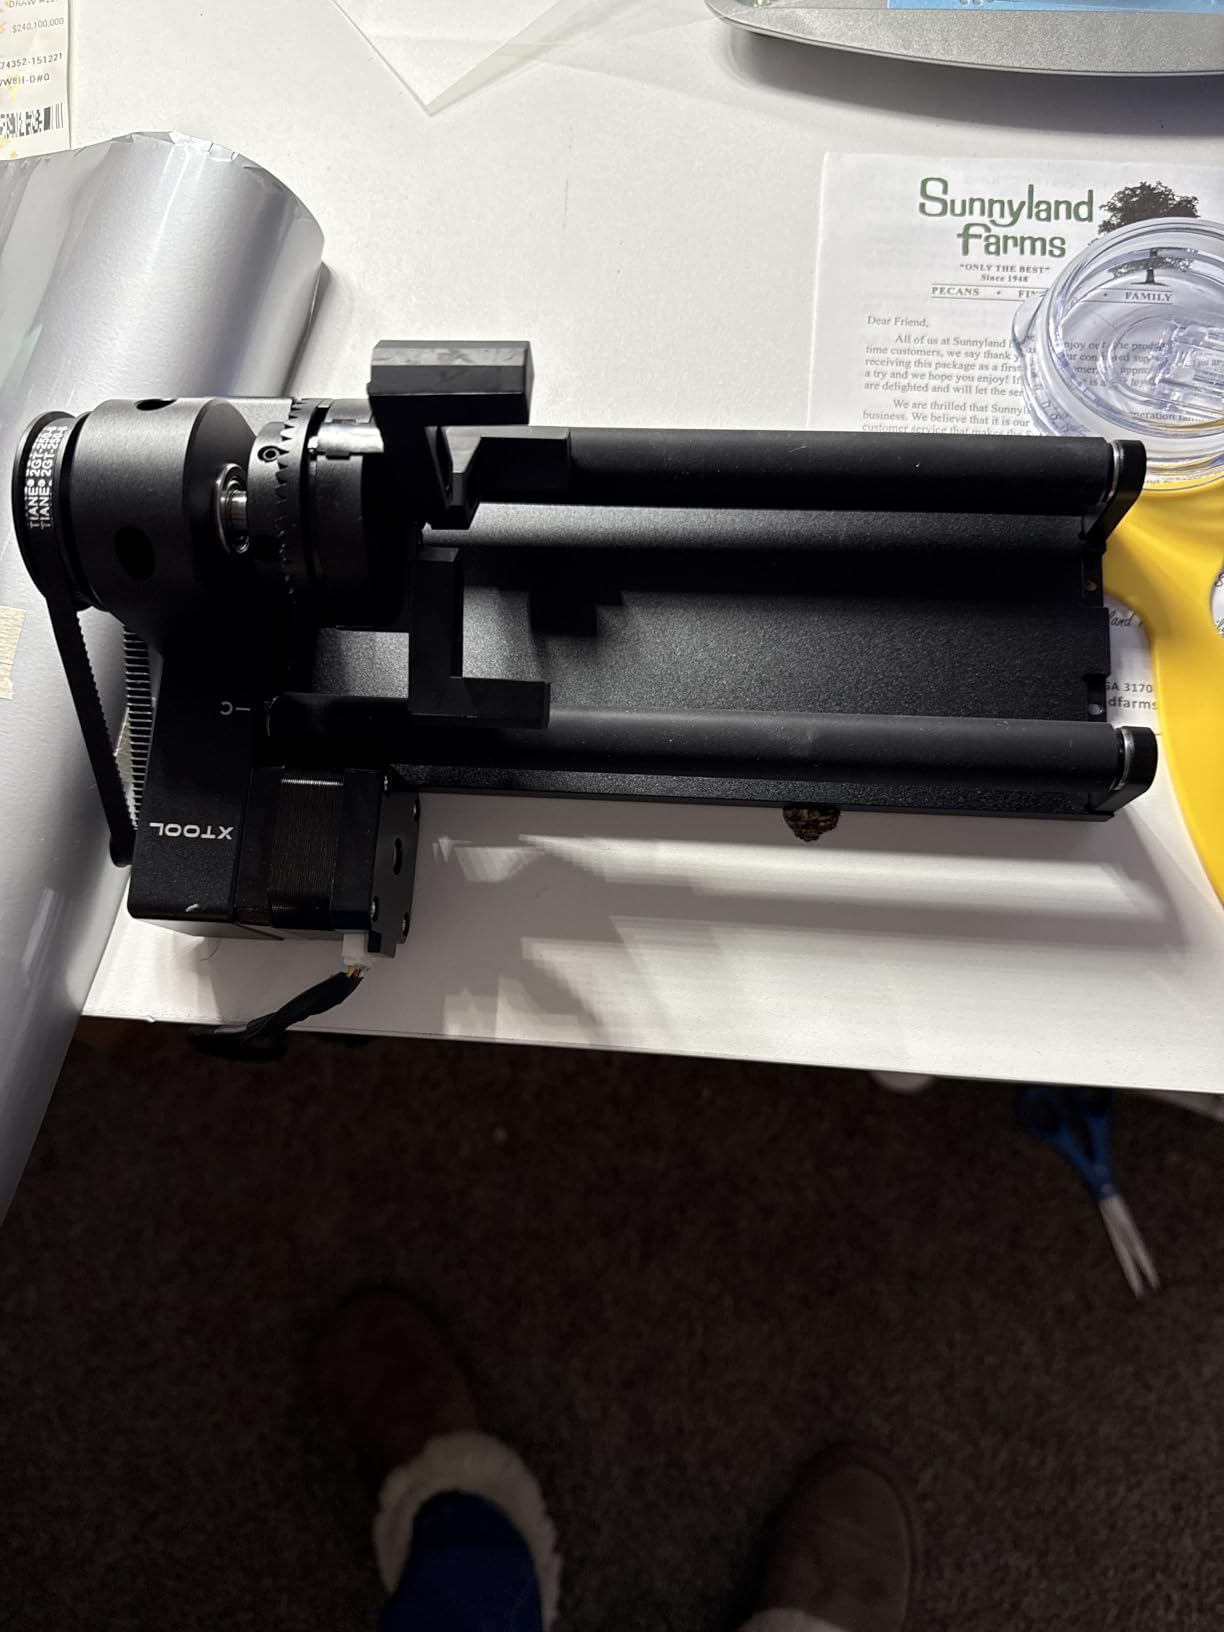
The RA2 Pro is the attachment we kept reaching for. It includes a roller, a chuck, a sphere module and a ring stud, so a tumbler, a wine glass, a baseball and a wedding band are all the same afternoon of work. That versatility is the reason it takes the top spot in our roundup of the best rotary attachments for laser engravers.
Owners treat it as a must-have for drinkware, and the reason is grip. Chuck jaws with a grippy surface hold a stainless tumbler centered, which decides whether a full-wrap mark comes out clean or smeared. The anodized aluminum alloy body also feels like shop equipment rather than a plastic add-on.
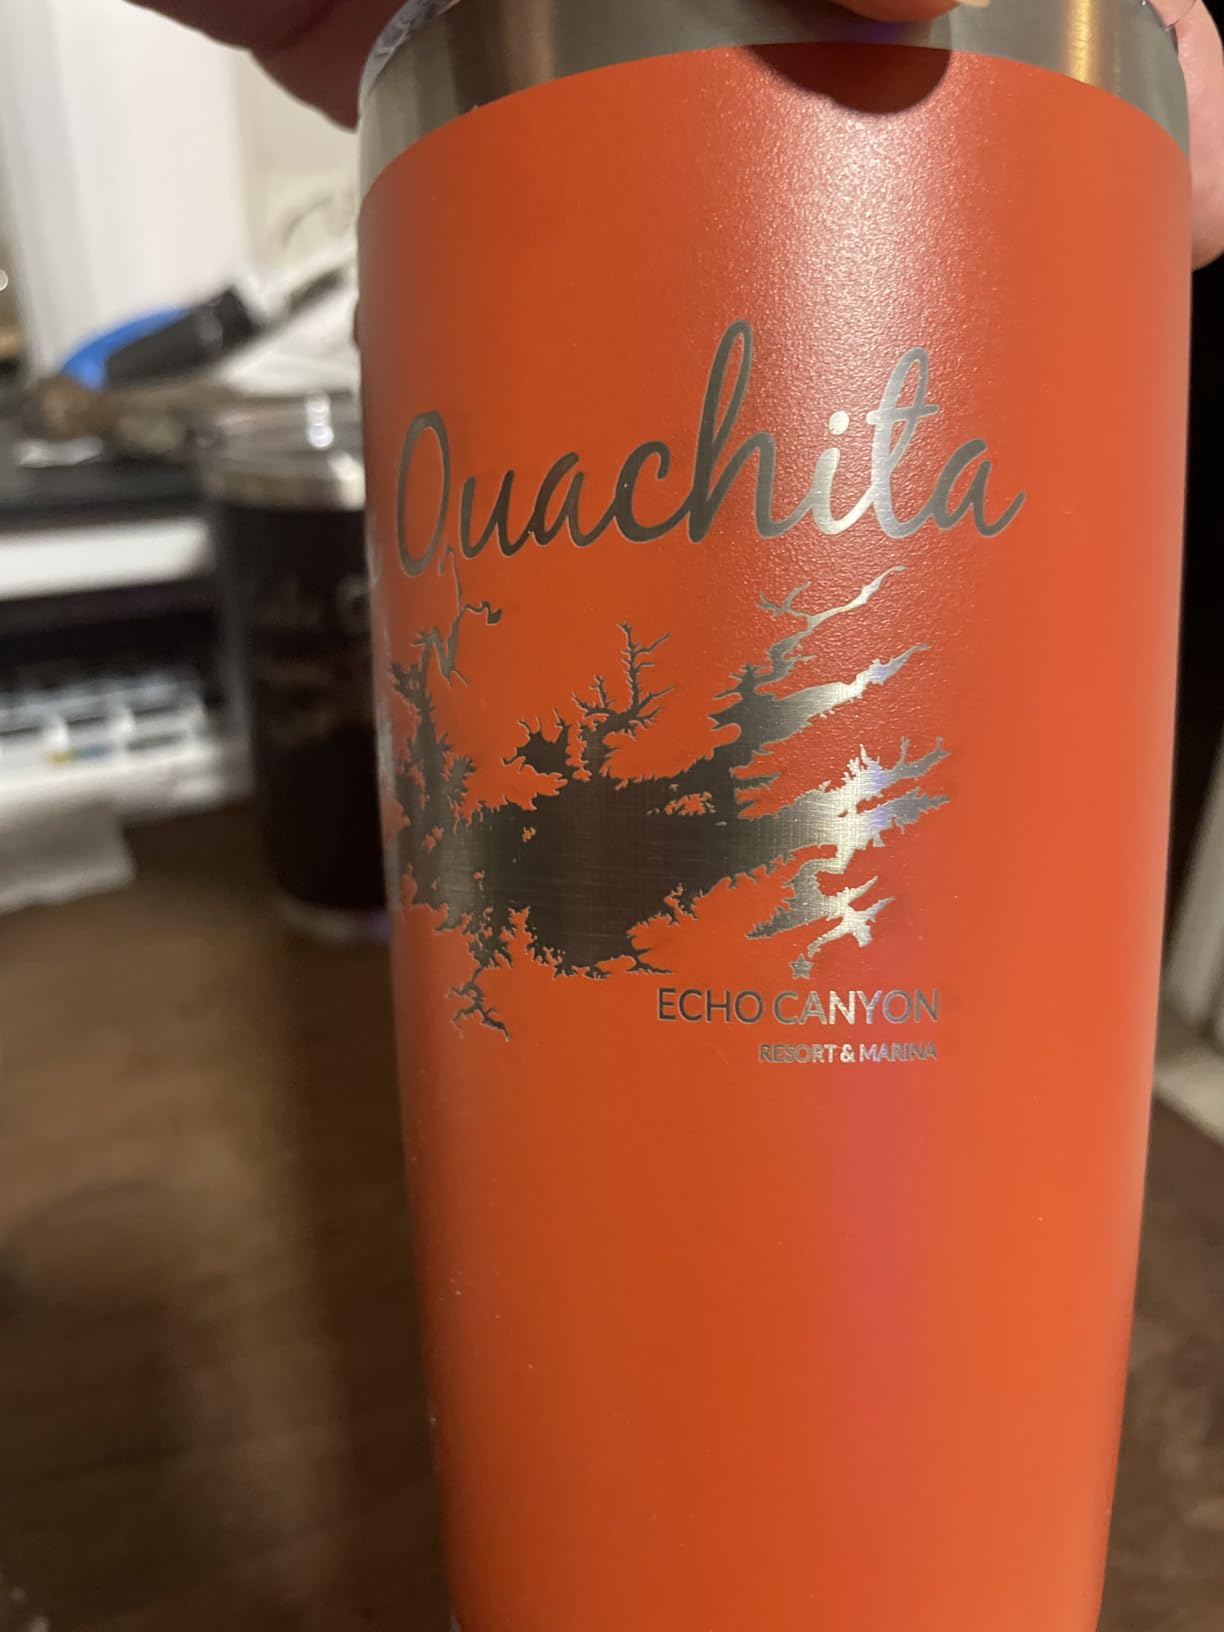
Rotation speed is the other headline. Maximum vector engraving speed reaches 360 degrees per second with a stepper motor minimum angle of 0.45 degrees, and xTool quotes 0.01mm motion accuracy on the machines it pairs with, which means wraparound designs finish quickly and stay consistent across a batch.
Setup is where this unit earns its place. It runs on Laserbox Basic, LaserGRBL and LightBurn, and the adjustable Z-axis plus adjustable chuck diameter mean most jobs need no shimming. Owners repeatedly mention fast, guess-free setup as the deciding factor over cheaper rollers.
Will it clear your largest tumbler and handled mug?
A 36 ounce tumbler is comfortable. Anything larger is tight, and a mug with a handle can hit the base before the jaw reaches the focal line, so raise the module or raise the support height. Measure your tallest workpiece against the jaw opening before you order.
What you give up versus the newer xTool module?
The RA2 Pro does not do radial marking the way the RA3 does. For standard full-wrap tumbler and glassware work, the RA2 Pro’s 396 reviews and 4.6 average make it a more proven long-term bet.
2. ORTUR Laser Rotary Roller: the Budget Pick Roller
ORTUR Laser Rotary Roller, 360° Laser Engraver Y-axis Rotary Module for Engraving Cylindrical Objects Cans, 7 Adjustment Diameters, Min to 8mm, Compatible with Most Laser Engraving Machines
7-step diameter adjustment, 8mm to 110mm
LaserGRBL and LightBurn support
Windows, Mac and Linux
2.4 pounds
5.08 x 7.24 x 3.19 inches
Pros
- Largest review base in the group at 723 reviews
- Handles items from 8mm to 110mm
- Affordable entry to cylinder engraving
- Two-wire swap extends it to other brands
Cons
- Roller only
- no ring or sphere grip
- Wire swap needed on non-ORTUR machines
- Drums can slip on soft finishes
This is the rotary that most owners pick first, and the 723 reviews explain why. Cans, bottles, pipes, bowls, rolling pins and guitar bodies all come off the same two rollers.
The seven-step diameter adjustment from 8mm up to 110mm is unusually wide at this level. That covers a slim marker, a wine bottle neck and a wide tumbler without buying a second module, and the adjustment itself is a simple mechanical change rather than a software exercise.
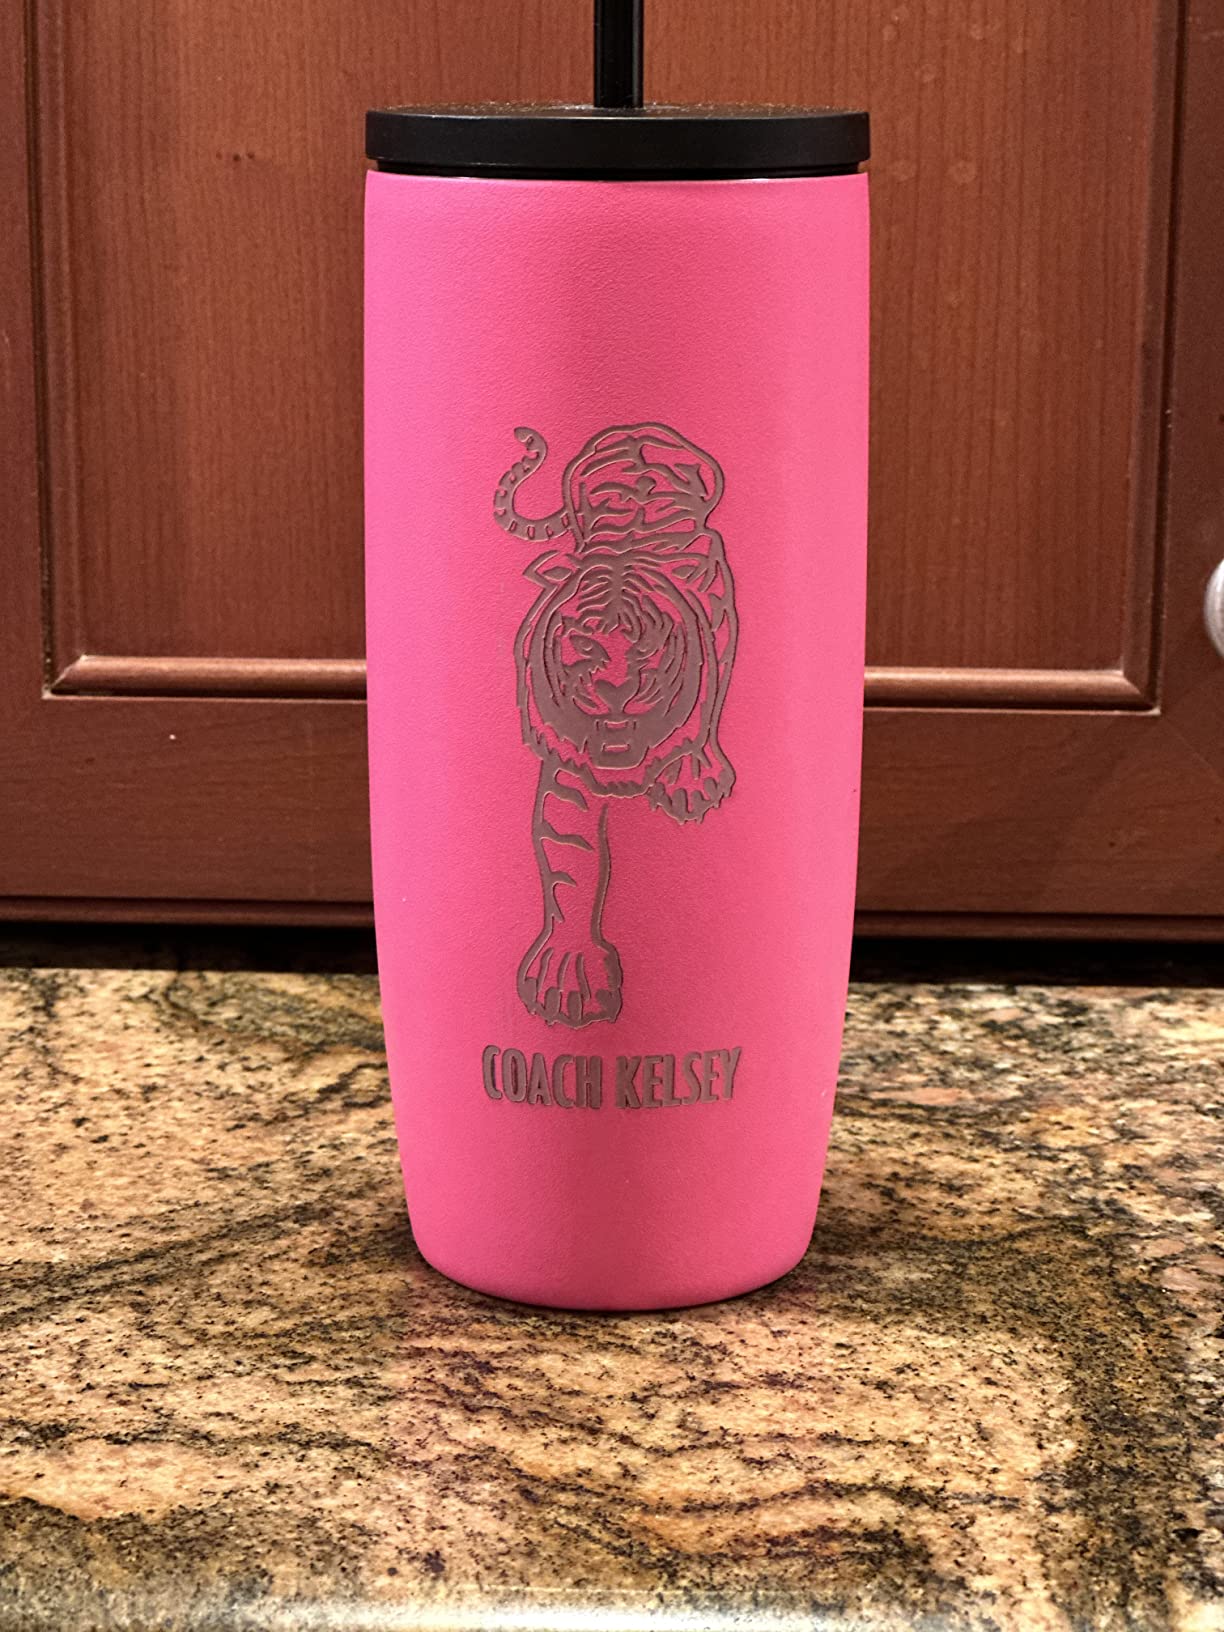
Software support is broad for a budget part. It runs on LaserGRBL and LightBurn across Windows, Mac and Linux, which means it drops into a lot of existing setups without a firmware fight.
Owners describe consistent full-wrap results, and the reviews are unusually honest about limits. This is a roller, so it cannot hold a ring, a marble or a small irregular part. Buyers also note that adapting it to a non-ORTUR machine means swapping the blue and green wires at one end of the cable, which trips up first-time users.
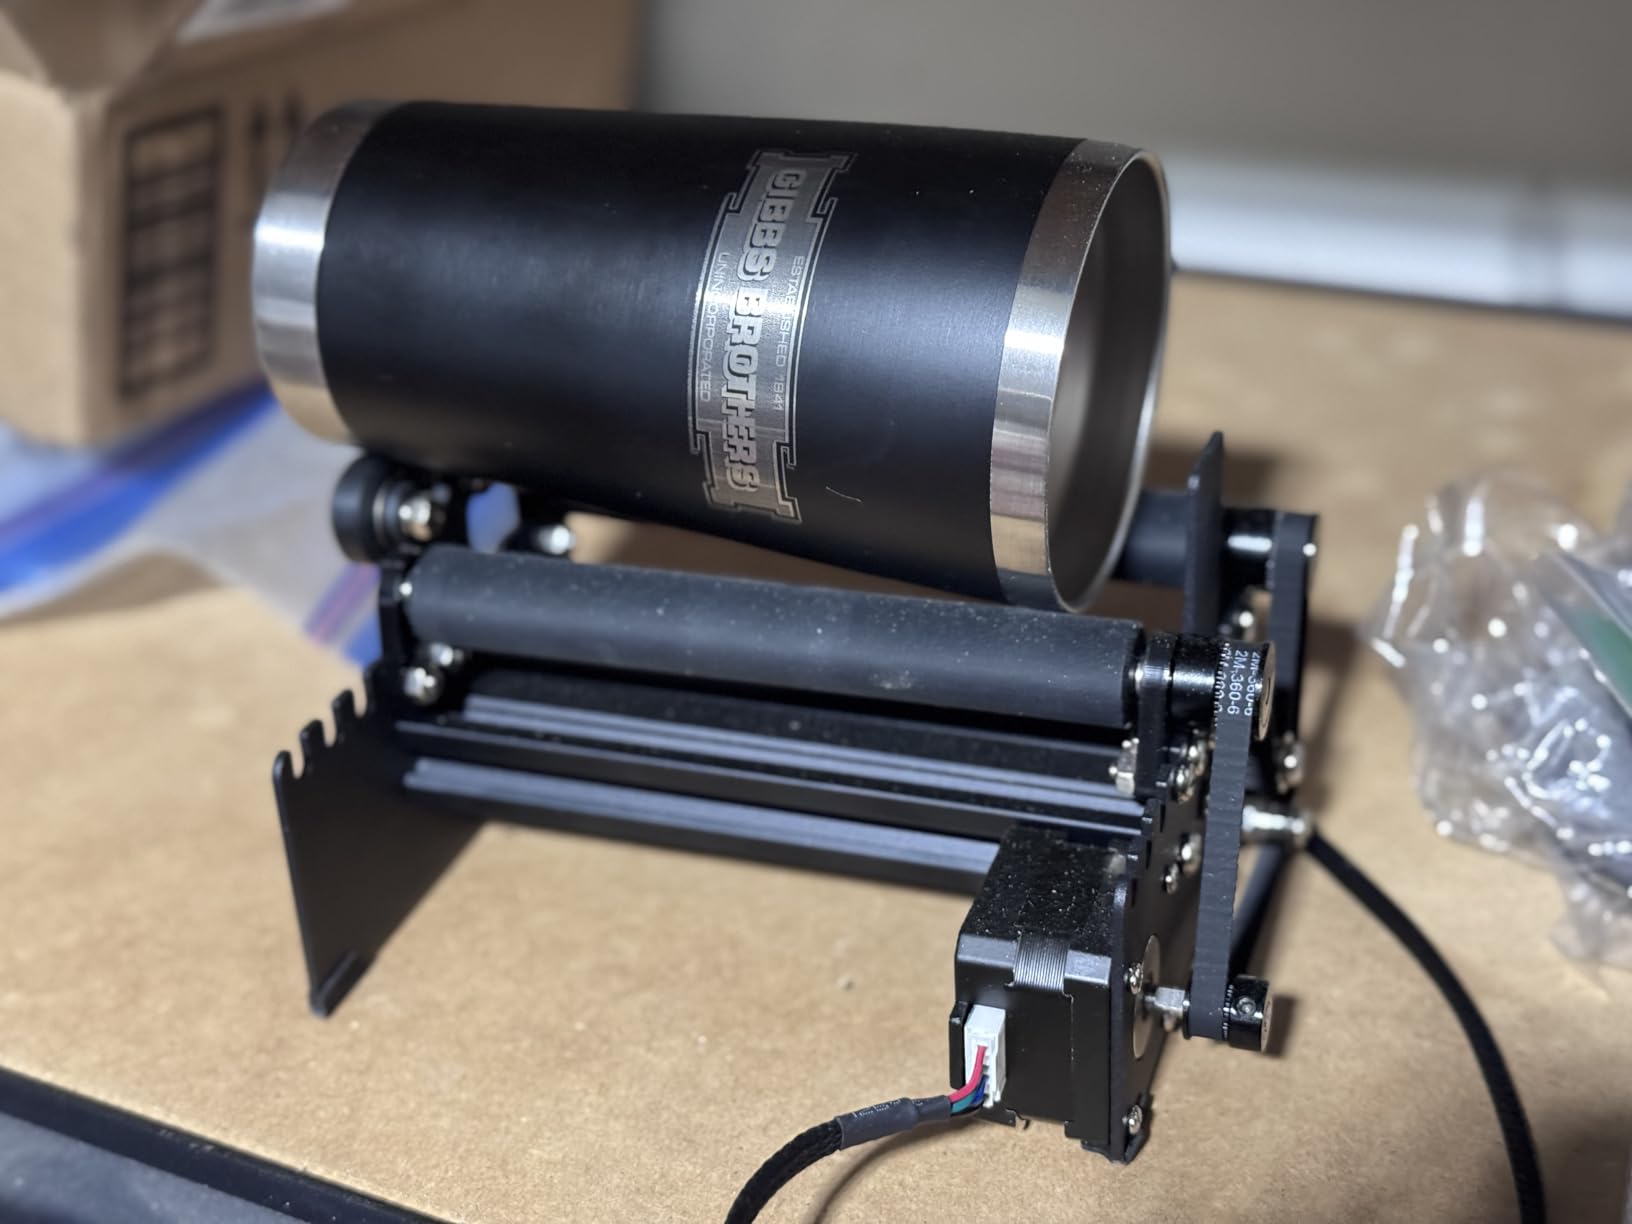
Is it right for a first-time tumbler seller?
Yes, if your pieces are straight-sided cylinders of similar diameter. The drums do the centering for you, staging is fast, and the low cost means a bad mount is not an expensive mistake. Add a chuck later if you need jewelry work.
When should you step up to a chuck instead?
Move up when you hit tapered tumblers, handled mugs, heavy pieces or anything that needs three-point grip. A roller spins a cylinder by friction, and friction is exactly what fails on a glossy stainless surface. If slippage shows up in your review photos, the fix is grip, not more pressure.
3. Longer Rotary Roller Series: the Best Universal Fit Roller
Longer Rotary Roller Series,with Bracket, Y-Axis 360° Rotation for Laser Engraver Engraving Cylindrical Objects Tumblers Cans Cups Bottles, Compatible with 99% of Laser Engraver,Size 268 * 184 * 60mm
Two wiring options for near-universal fit
360 degree auto-rotating Y-axis
Adjustable height with bracket
268 x 184 x 60mm
Pros
- Dual harness covers most engravers on the market
- Bracket keeps it stable and level
- Handles mugs and wine glasses reliably
- Strong category sales rank
Cons
- Roller only
- no ring or sphere grip
- Connector may need manual swapping
- Height and centering take practice
The Longer roller solves the exact problem that stalls most first-time buyers, which is not knowing whether their machine will accept the module. It ships with two wiring options: a white connector for Longer RAY5 machines, the Laser B1 series and roughly 80 percent of engravers, and a black connector for the remainder.
The included bracket is the underrated part. Most budget rollers clamp onto a bed and drift, while this one has a proper mounting bracket with an adjustable height range, which matters when your tumblers are different sizes and you need the focal distance to land consistently.
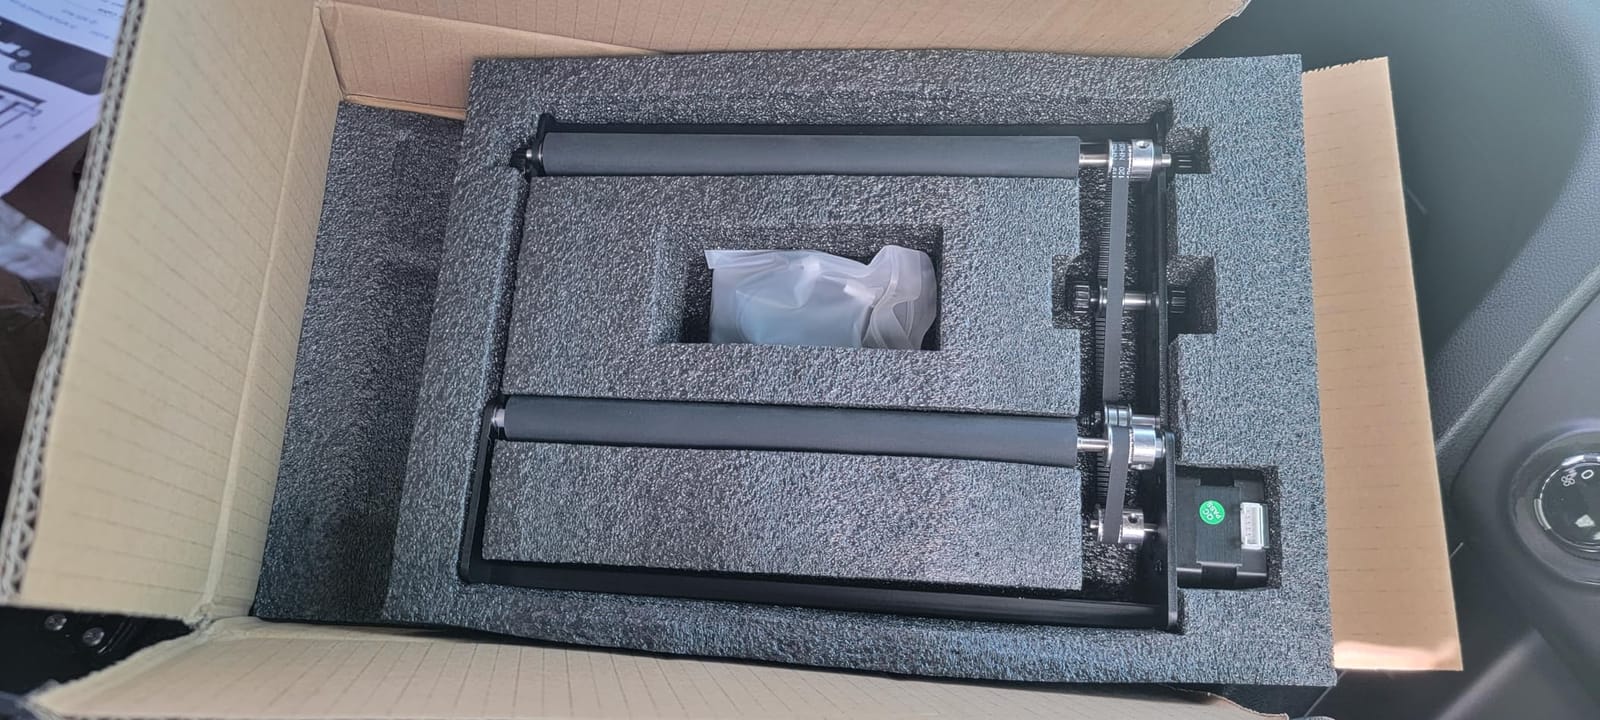
Owners report reliable handling of irregular cylinders such as wine glasses and mugs, and the product ranks high in Jewelry Making Engraving Machines and Tools, so it is moving in volume. The 4.4 average across 222 reviews reflects a settled product rather than a recent release.
The honest limitation is the same one every roller shares, plus a small learning curve. It cannot secure rings, spheres or very small parts, and if the white connector does not work on your board you are swapping to the black harness yourself. Expect to spend a job or two dialing in height and centering.
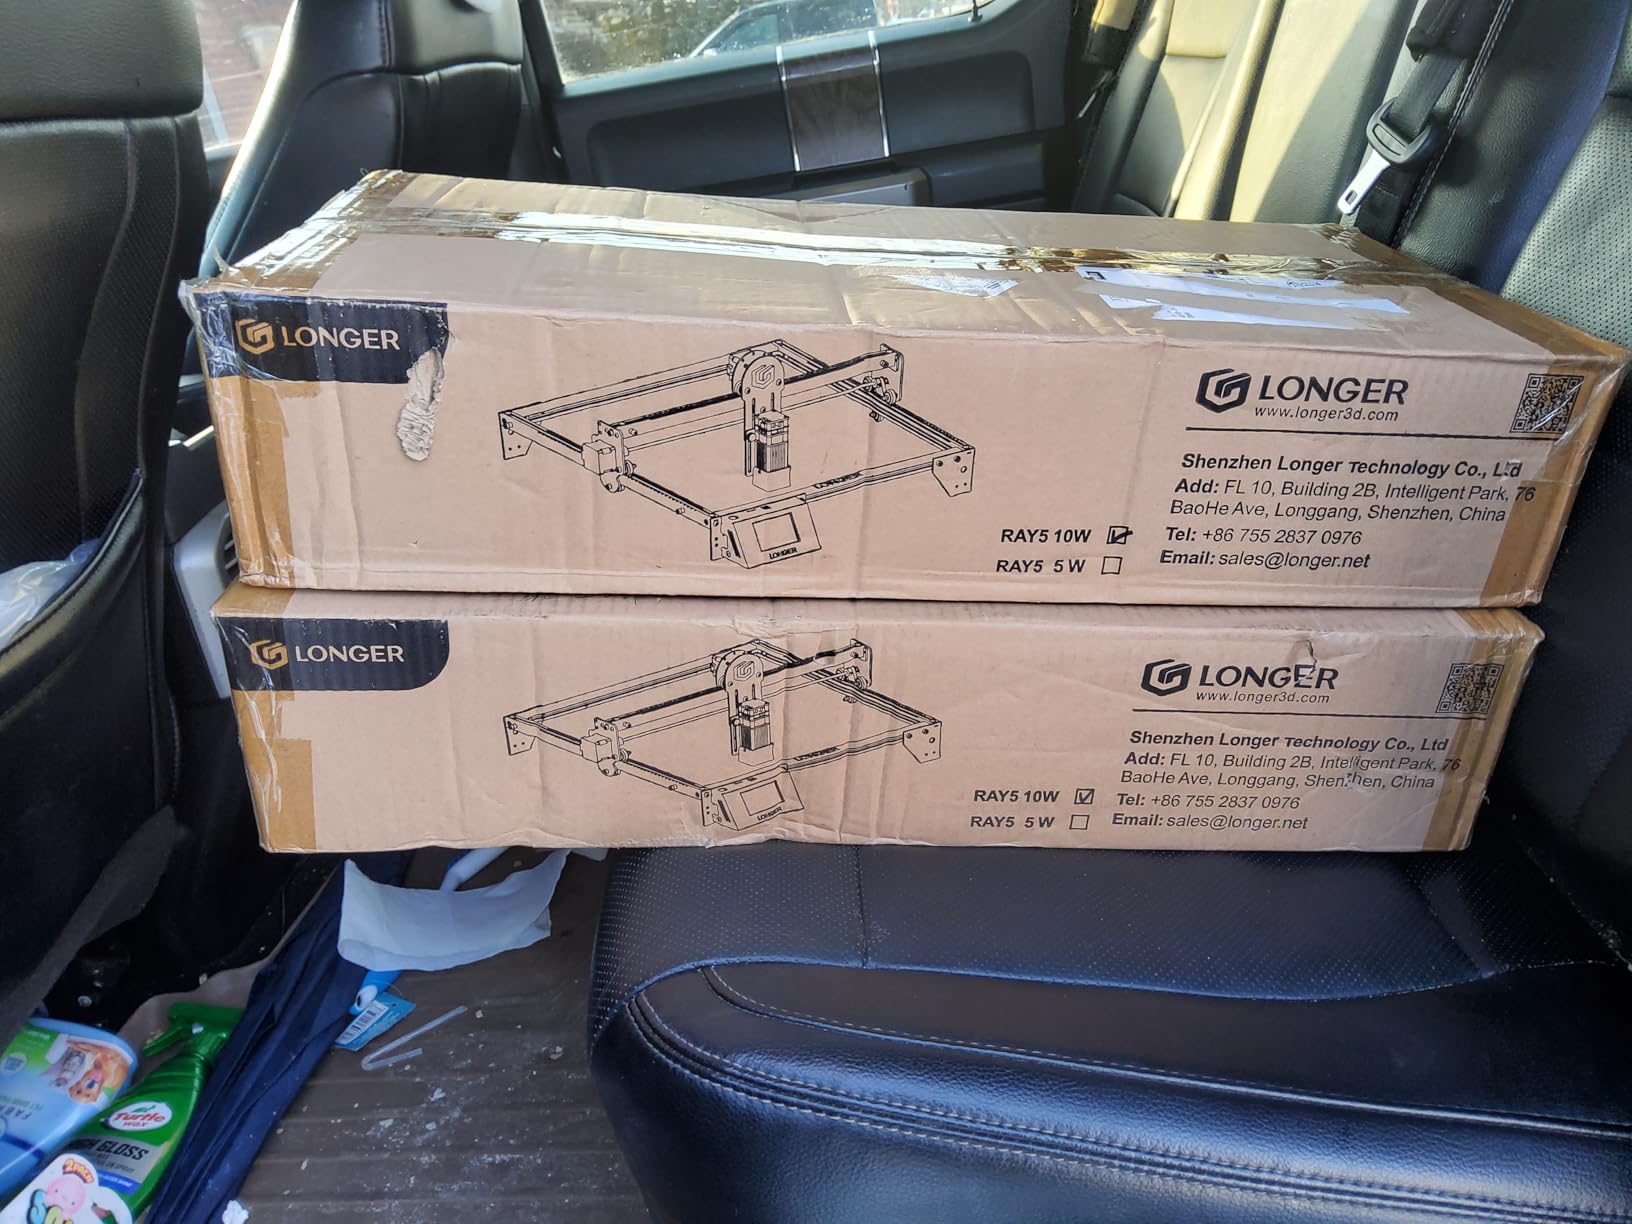
Is this the safest first rotary for an unknown machine?
It is the one we would buy without knowing your exact board. Two harnesses remove most of the guesswork, and the bracket reduces the alignment problems that make first jobs look bad. Check the connector type against your machine before your first production run.
Does the bracket really prevent drift?
It prevents the kind of lateral drift that blurs a mark mid-job, which is the main complaint on bare roller mounts. It does not fix slippage on the workpiece itself, and the height range still has to be set for each family of tumbler sizes you run.
4. xTool RA3: the Best Modular Rotary for xTool Machines
xTool RA3 World’s First Smart MagSwap Rotary for xTool P3, F2 Ultra, F1 Ultra, F2 Laser Engraver, 360° LiDAR Mapping Alignment, Intelligent Rotary that Masters Engraving on Rings, Tumblers & Ornaments
MagSwap tool-free magnetic attachments
130mm enlarged chuck
360 degree LiDAR mapping on P3
12.64 x 7.28 x 5.79 inches
Pros
- Fastest module changes in this roundup
- Strong chuck grip and centering
- No tools or screws to swap attachments
- Storage box included
Cons
- LiDAR mapping only works on the xTool P3
- Rotary speed capped at 400mm per second
- No automatic origin reset on cancel
- Newer xTool machines only
The RA3 is the most mechanically ambitious design in this group. MagSwap uses strong magnets to change between Chuck, Roller, Sphere and Ring attachments with no tools and no screws, and owners single that out as the feature that changes daily workflow.
The enlarged 130mm chuck is a real upgrade for larger items, and one-step inner ring angle adjustment makes small or complex parts far less fiddly than on older jaw designs. Owners also praise the storage box, which is a small thing that matters in a shared shop.
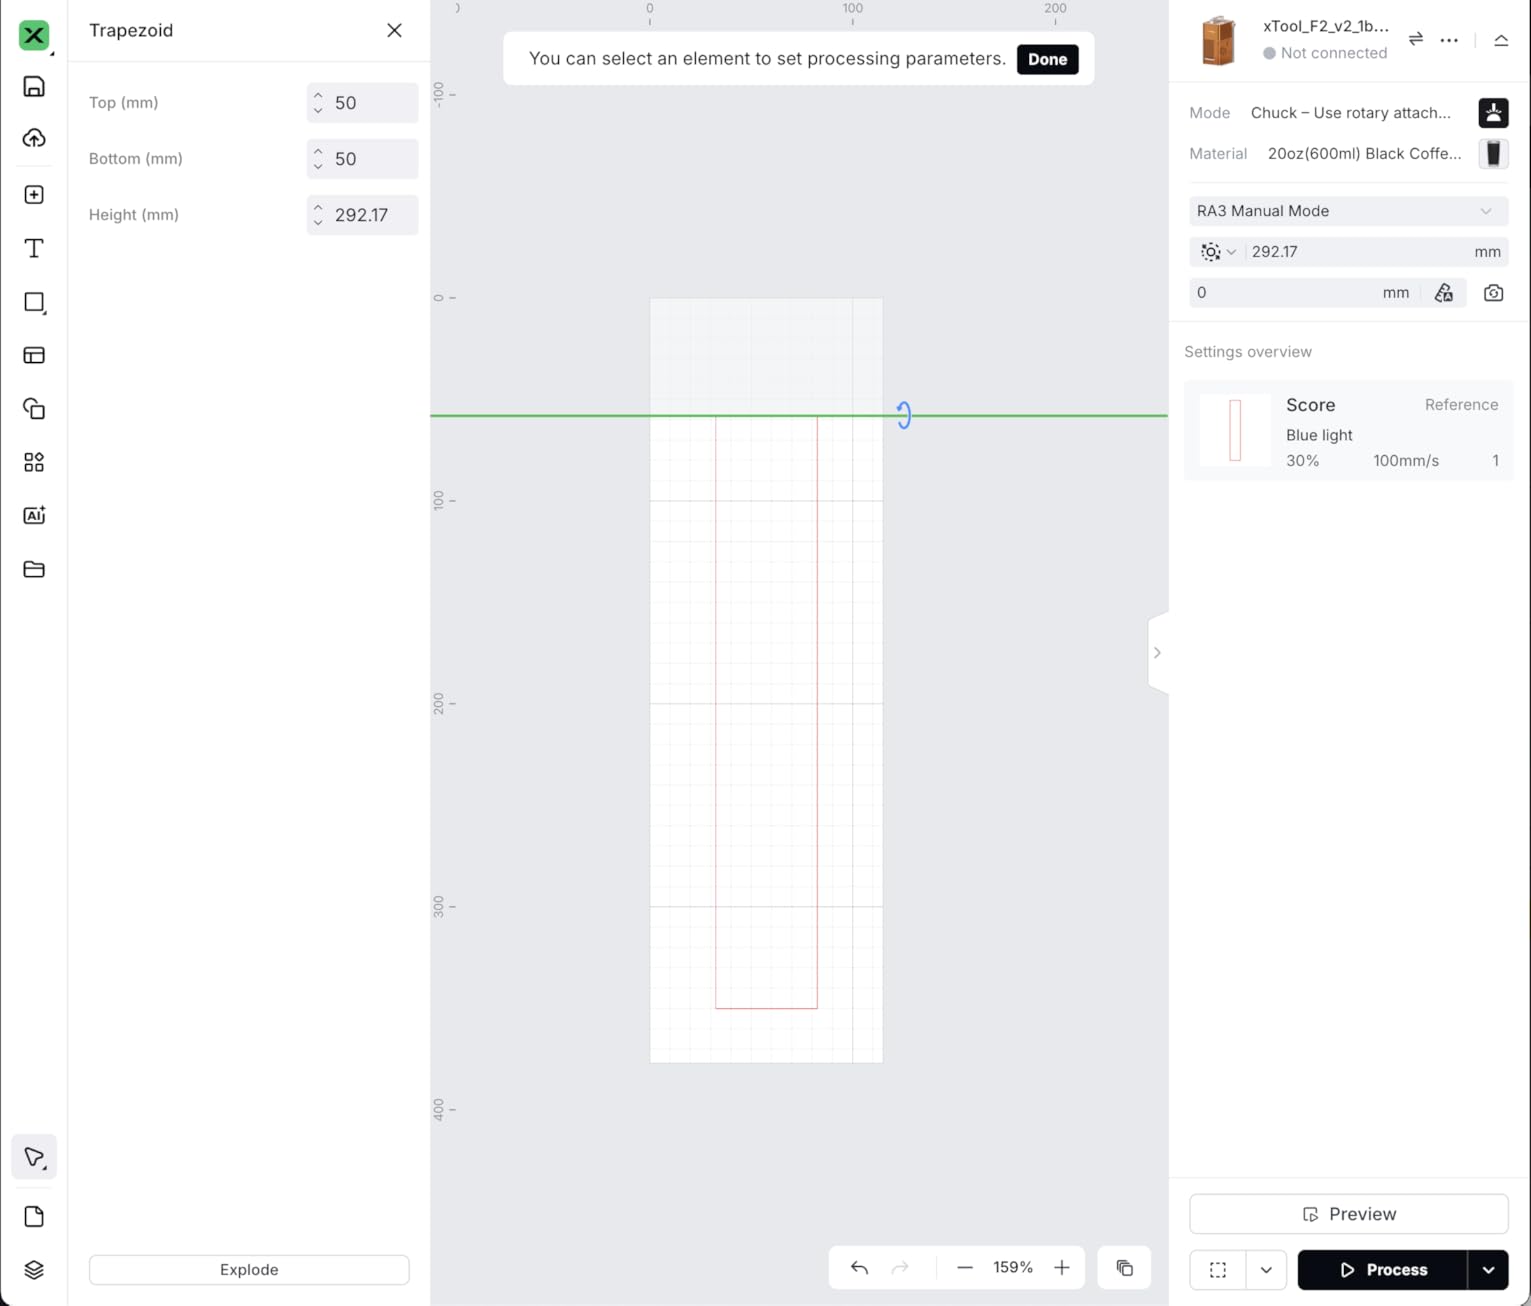
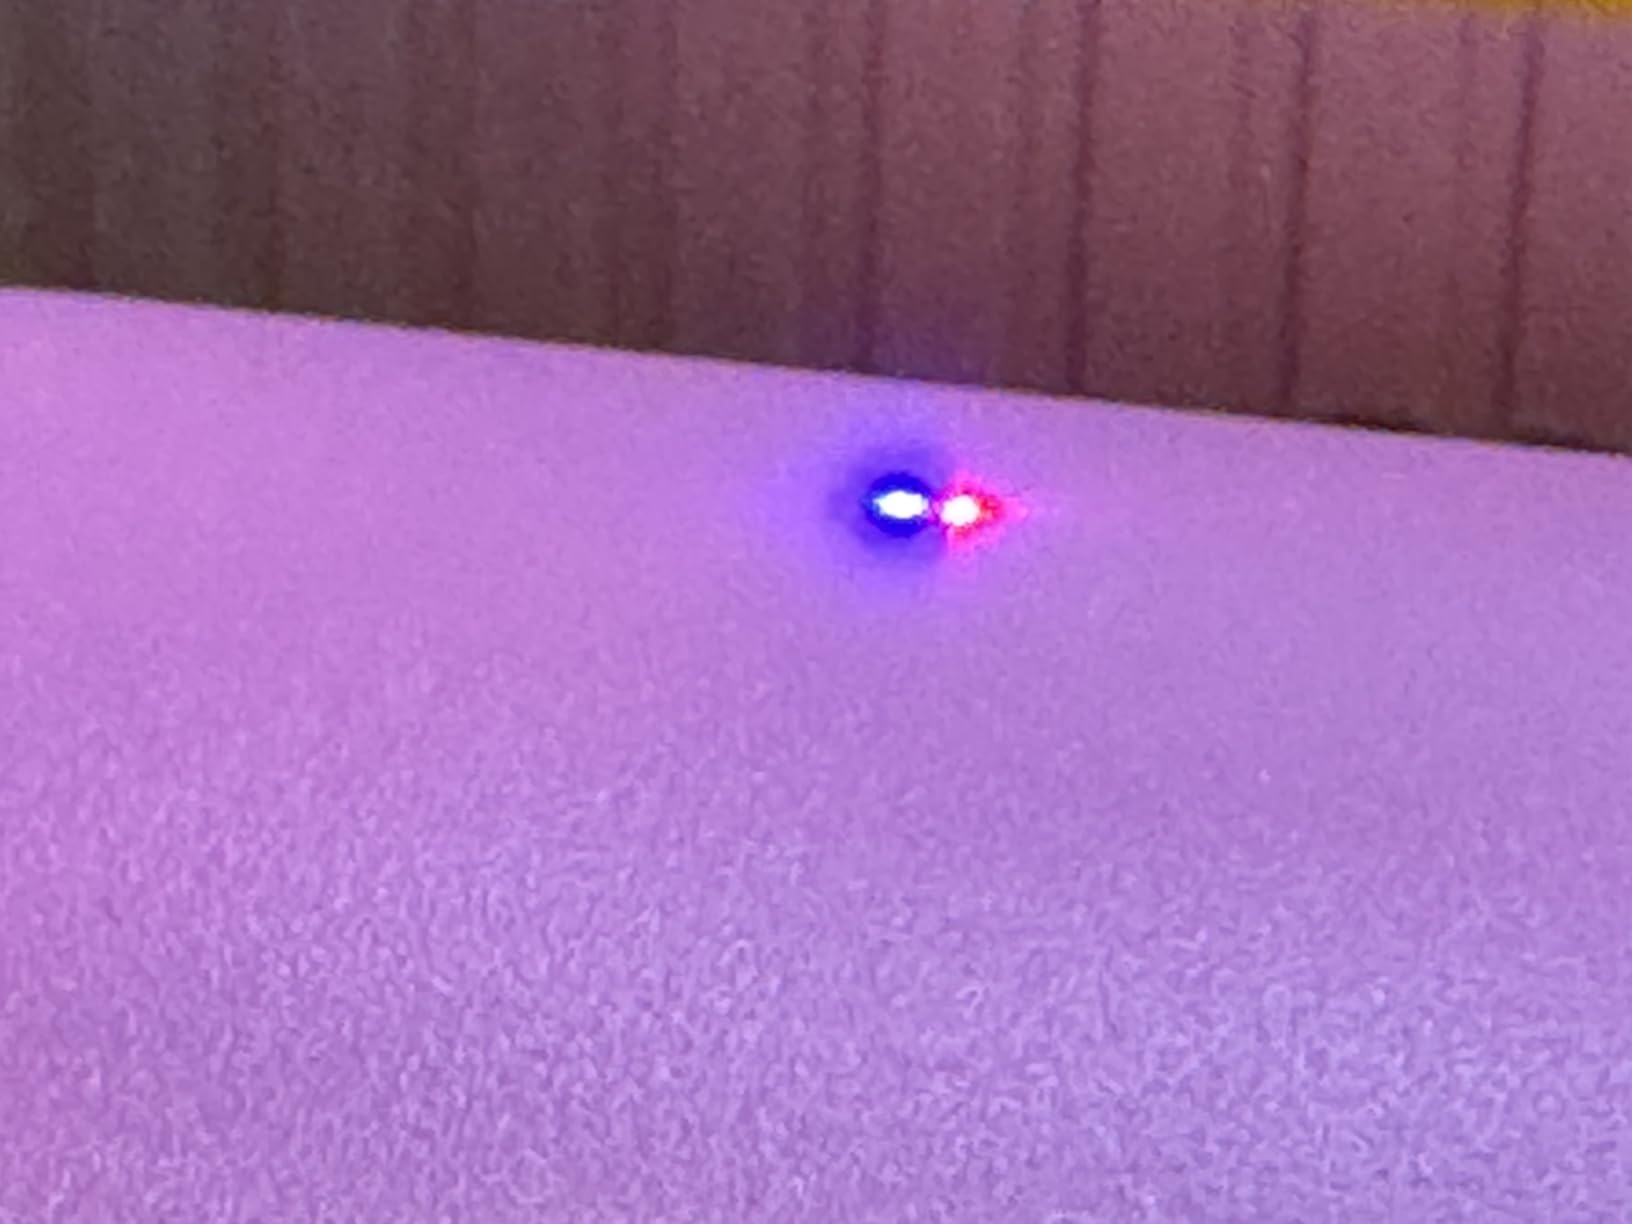
Alignment is the headline feature and the biggest caveat at the same time. The 360 degree LiDAR mapping auto-focus and 3D preview run through the xTool P3, so if you own an F2 Ultra, F1 Ultra or F2 you get the hardware without the mapping. The 65-review base is thinner than the RA2 Pro’s, so we would watch the software for another year.
There are real software gaps. Rotary speed is capped at 400mm per second, there is no automatic origin reset when you cancel a job, radial previews and processing-area updates still need refinement, and alignment relies on printed lines rather than a mechanical jig. On an F2 setup, standard tumblers can run too tall for proper focus without shimming.
Is it worth owning if you are not on a P3?
Only if magnetic swapping and the 130mm chuck matter more to you than the mapping. The hardware is excellent on the F2 Ultra, F1 Ultra and F2, but you give up LiDAR auto-focus and you shim taller tumblers yourself. A single review based on 20 hours with an F2 praises the mechanics and criticises exactly that software layer.
Can it handle heavy production volume?
The 400mm per second rotary speed limit is the constraint. Radial marking on small items like ornaments and tags is where the attachment shines, and that is not a high-speed production workflow. For long tumbler batches, the RA2 Pro is the steadier tool.
5. Creality Rotary Roller Pro: the Best Kit for Fragile Glassware
Creality Rotary Roller Pro, Laser Engraver Accessories 3-in-1 Kit for Falcon and Other Engraving Machines, Jaw Chuck for Glass, Cylindrical Objects, Ring, Cups, Pens
3-in-1 gripper set with soft pads
Cylinders 1-110mm, spheres 10-130mm
14 x 4.8 x 3.9 inches
5.04 pounds
Pros
- Three gripper shapes hold odd items
- Anti-slip soft pads protect glass
- No assembly required
- Covers objects from 1mm to 130mm
Cons
- Risers not included
- Software takes practice
- One owner reported early failure
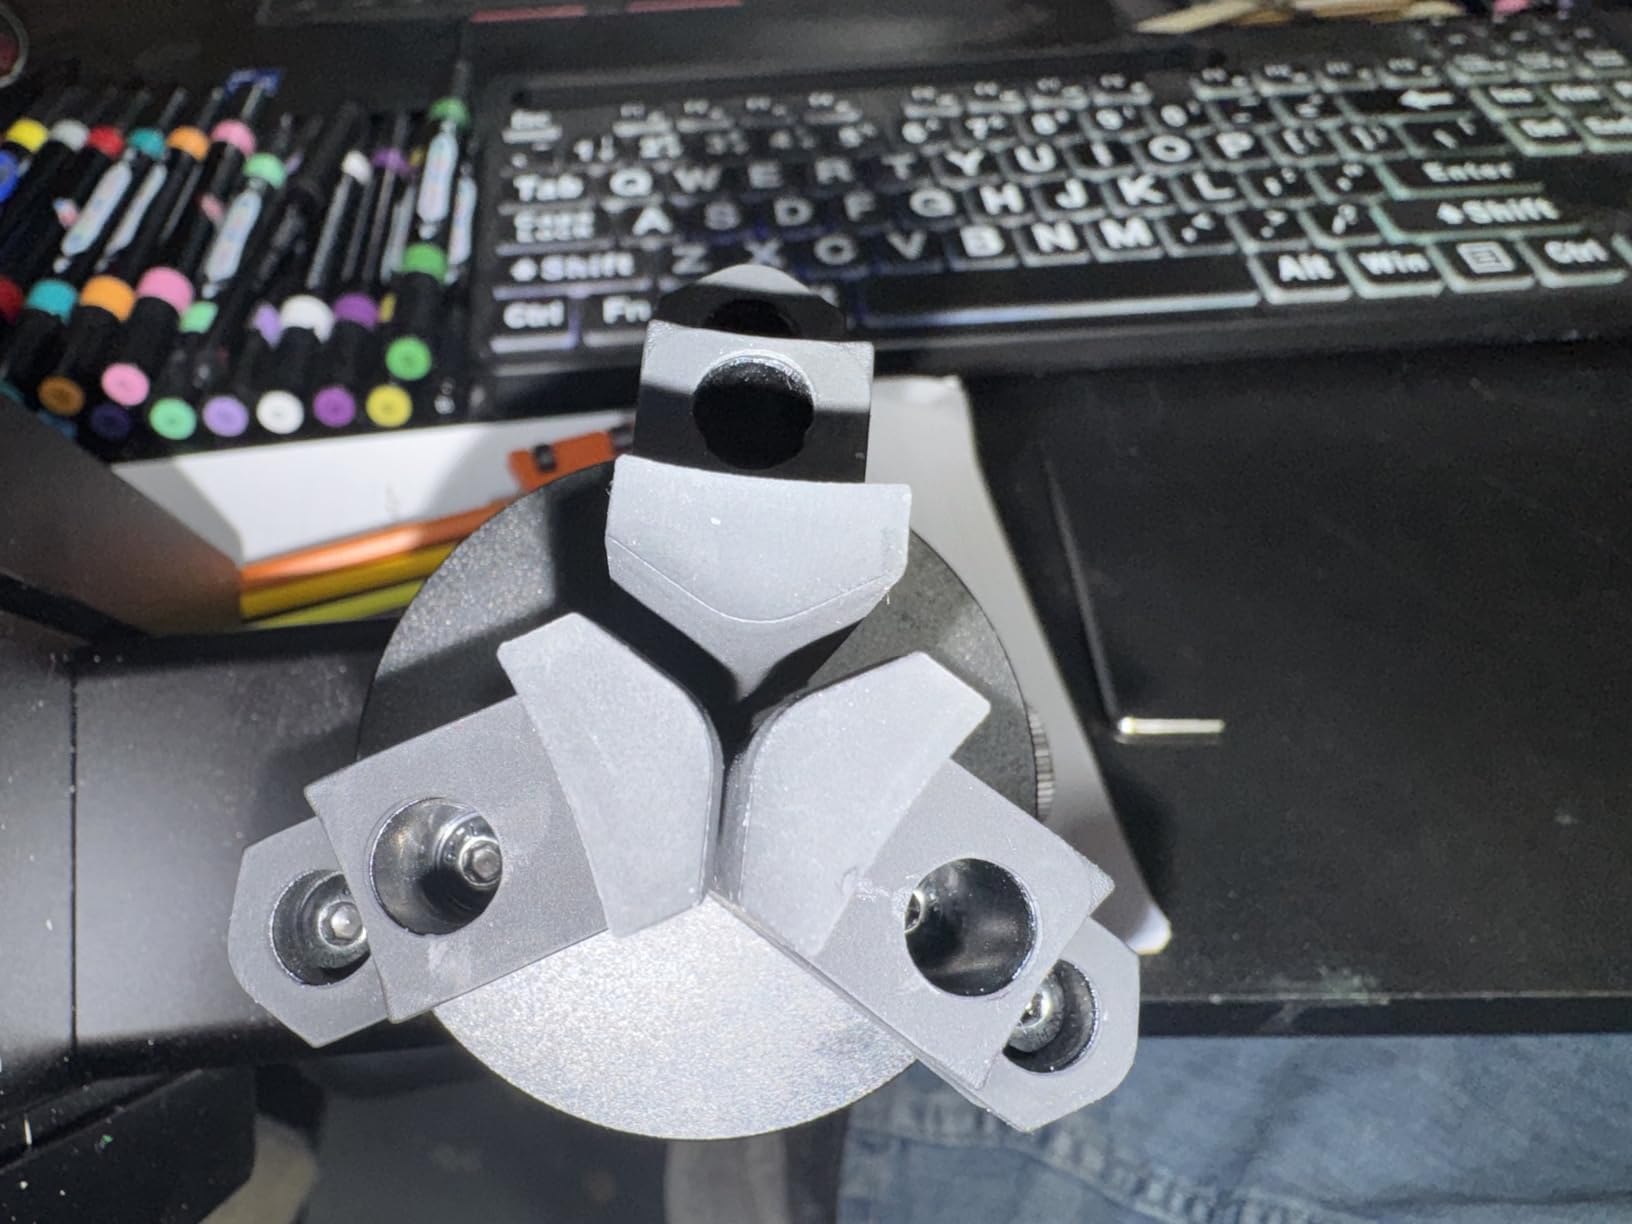
The Creality Rotary Roller Pro is the only roller in this roundup that comes with three interchangeable grippers: trapezoidal, L-shaped and hexagonal. That set is what lets it hold a handled mug, a sphere and a faceted ornament without a second purchase, and it works with the Creality Falcon series and roughly 95 percent of laser engravers.
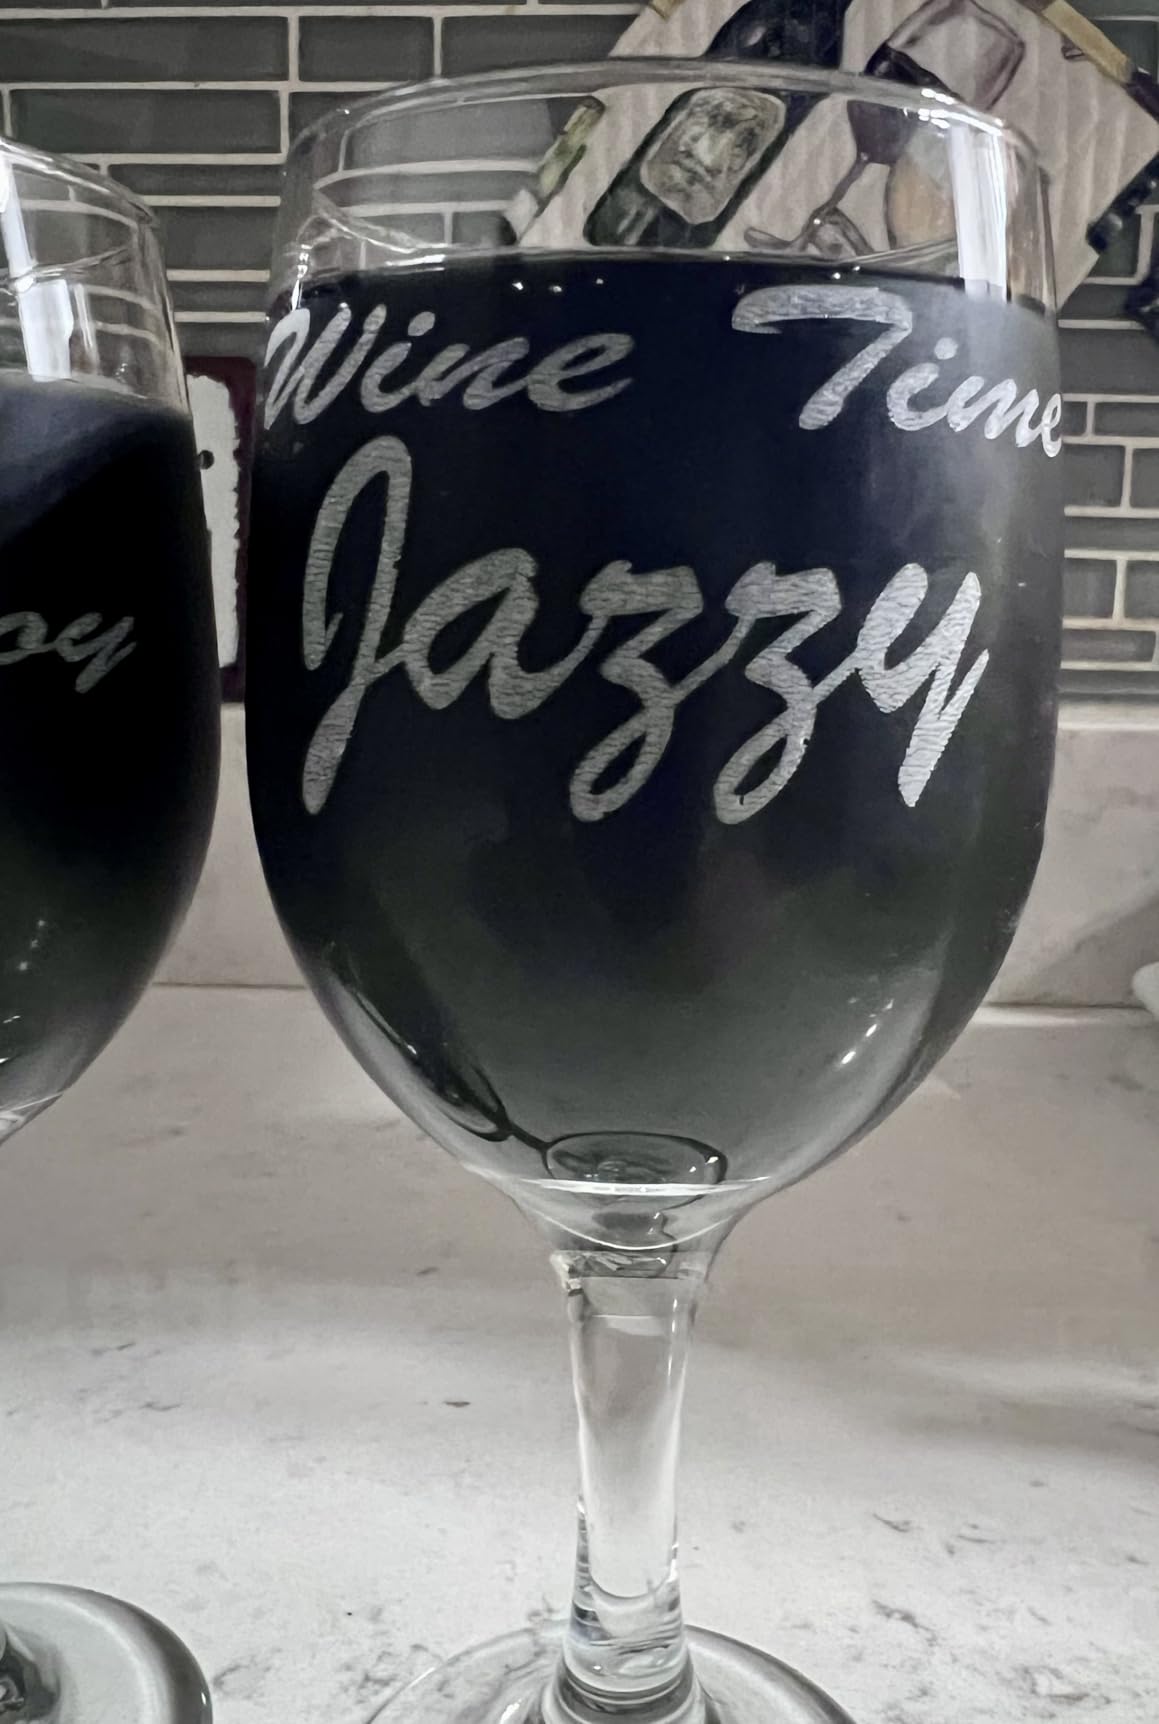
The anti-slip soft pads are why it earns a place here. They add friction while protecting the contact surface, which matters when the workpiece is a wine glass or a thin-wall tumbler. Buyers consistently report solid construction and quick setup, and no assembly is required.
The published ranges are unusually generous: cylinders from 1mm to 110mm, shaped cylinders such as handled mugs and tumblers from 25mm to 75mm, spheres from 10mm to 130mm, and rings and bracelets from 15mm to 100mm. It connects through a PH2.0 six-pin interface and runs on LaserGRBL and LightBurn.
Two practical notes before you order. The risers needed to mount it in a laser unit are not included, which surprises first-time buyers, and the software takes some getting used to. One detailed negative review describes a unit failing within two weeks and dissatisfaction with warranty handling, so buy from a seller with a clear return path.
Will it hold a wine glass without cracking it?
The soft pads are designed for exactly that, and the three gripper shapes stop the glass from being clamped in one hard point. Test on a cheap glass first and keep the grip pressure lower than feels necessary, because the pads do the work for you.
Is the extra cost over a plain roller justified?
It is when your list includes anything that is not a straight cylinder. For plain cans and bottles, a simpler roller does the same job. You are paying for grip variety and object coverage, not for speed, and the 4.3 average across 53 reviews reflects a capable unit with a slightly bumpy early record.
6. ACMER M3: the Best Budget Roller with a Mode Toggle
ACMER M3 Laser Rotary Roller, Rotary Module for Cylindrical Engraving
High-grip rubber roller
Built-in rotary and standard mode toggle
Two connection cables
1.87 pounds
Pros
- Toggle returns to flat jobs in seconds
- Dual cables cover ACMER and other brands
- Light and easy to mount
- Good grip on round pieces
Cons
- Assembly required before first use
- Settings configured manually
- Listed dimensions are uninformative
- Roller only
The ACMER M3 is a recent budget roller, and the feature we like most is not glamorous. A built-in toggle switch flips between rotary mode and standard engraving mode, so you are not unplugging cables every time you move from a tumbler back to flat material.
Two connection cables ship in the box. Cable A is for ACMER machines and Cable B is for compatible third-party engravers, and the unit connects to the Y-axis connection of a compatible laser engraver. The high-grip rubber roller is what keeps a workpiece from creeping during a slow vector pass.
At 1.87 pounds it mounts without fuss. The honest drawback is the start-up work. Assembly is required before first use, though components and connection accessories are included, and you have to configure the machine and software settings manually after connecting. The 48-review base is still thin, and the listed product dimensions of 1 by 1 by 1 inches tell you nothing useful.
Is the mode toggle worth more than a better chuck?
It depends on your day. If you alternate between drinkware and flat blanks all week, the toggle saves real time. If you run tumbler jobs back to back, a chuck with soft jaws grips harder and you will not notice the switch at all.
What should you confirm before ordering this one?
Check that your machine exposes a Y-axis connection your board can drive, and budget an afternoon for assembly plus first-run calibration. The 4.3 average across 48 reviews is encouraging but thin, so treat it as a straightforward budget roller rather than a proven shop workhorse.
7. OMTech 3-Jaw Chuck Rotary Axis: the Best Rotary for 50W-Plus CO2 Shops
OMTech Rotary Axis Attachment with 3-Jaw Chuck for CO2 Laser Engravers
3-jaw chuck with tailstock
Fits 50W to 130W CO2 engravers
Precision 2-phase stepper motor
9 kg, 22.8 x 5.9 x 7.1 inches
Pros
- Rigid centering on large workpieces
- Iron and aluminum alloy build
- Quiet rotation for long runs
- Simple 4-wire plug-in
Cons
- Requires a 50W or higher CO2 laser
- Heaviest unit here at 9 kg
- Not for diode or fiber machines
- Review base of 42
This is the only industrial-grade option in the roundup, and it is built for a very specific buyer. If you run a 50W, 60W, 80W, 100W or 130W CO2 engraver and engrave large or heavy workpieces all day, the OMTech 3-jaw chuck is in a different class from every consumer roller here.
The 3-jaw chuck plus tailstock combination is what separates it from rollers. Three jaws clamp from three directions, and the tailstock supports the far end, so a heavy wooden cylinder or a wide tub stays rigid through a long pass. Owners describe smooth, noise-free rotation, and no 1-star ratings appear in the distribution at all.
Build quality is industrial by design. Iron and aluminum alloy construction with a corrosion-proof coating, a precision 2-phase stepper motor, DC power supply, and a 4-wire attachment cable that plugs into a dedicated port on the engraver. Installation is genuinely simple for anyone who has wired a laser head.
The constraints are severe and worth stating plainly. It requires a 50W or higher CO2 laser, it does not apply to diode or fiber engravers, and at 9 kg it needs a proper bench. With only 42 reviews it is a thinner social proof than the consumer units, though the sentiment is consistently positive on durability.
Is a tailstock necessary for your workpieces?
If you engrave wide or heavy pieces, yes. The tailstock is what stops a long workpiece flexing and drifting out of focus mid-job, and that is the failure mode you cannot fix in software. For slim tumblers, a consumer chuck is lighter and faster to set up.
Should a hobbyist buy this one?
Probably not. It is the heaviest unit in the roundup and it locks you to high-power CO2 hardware. Buy it when you are already running production on a 50W-plus CO2 machine and centering failures are costing you paid jobs.
8. AlgoLaser RR2: the Best Roller for Wide Diameter Coverage
Algolaser Laser Engraver Rotary Roller – Y-axis Rotary Roller for Laser Engraver – 360° Adjustable Rotary Roller for Cylindrical Objects Tumblers,Bottle with for Alpha/DIY KIT Laser Engraver
42 hybrid stepper motor
7-step adjustment up to 150mm
No software setup on GRBL machines
10.4 x 7.6 x 2.7 inches
Pros
- 4.5 average
- the best among roller options
- No software configuration required
- Widest stated diameter range of the rollers
- Pre-assembled
- two screws to adjust
Cons
- Not compatible with the Pixi machine
- Roller only
- no ring or sphere grip
- Only 32 ratings
The AlgoLaser RR2 carries a 4.5 average across 32 ratings, and the reason is a design decision we wish more manufacturers would copy. The roller surface linear speed matches the original Y-axis speed, so on a GRBL-controlled engraver you can run a cylinder with no rotary software setup at all.
That removes the most common source of frustration in this category. Instead of entering pulses per revolution and object diameter before every job, you treat the cylinder as flat stock. Reviewers report precise, repeatable results on cans, bottles, cups and pens as a result.
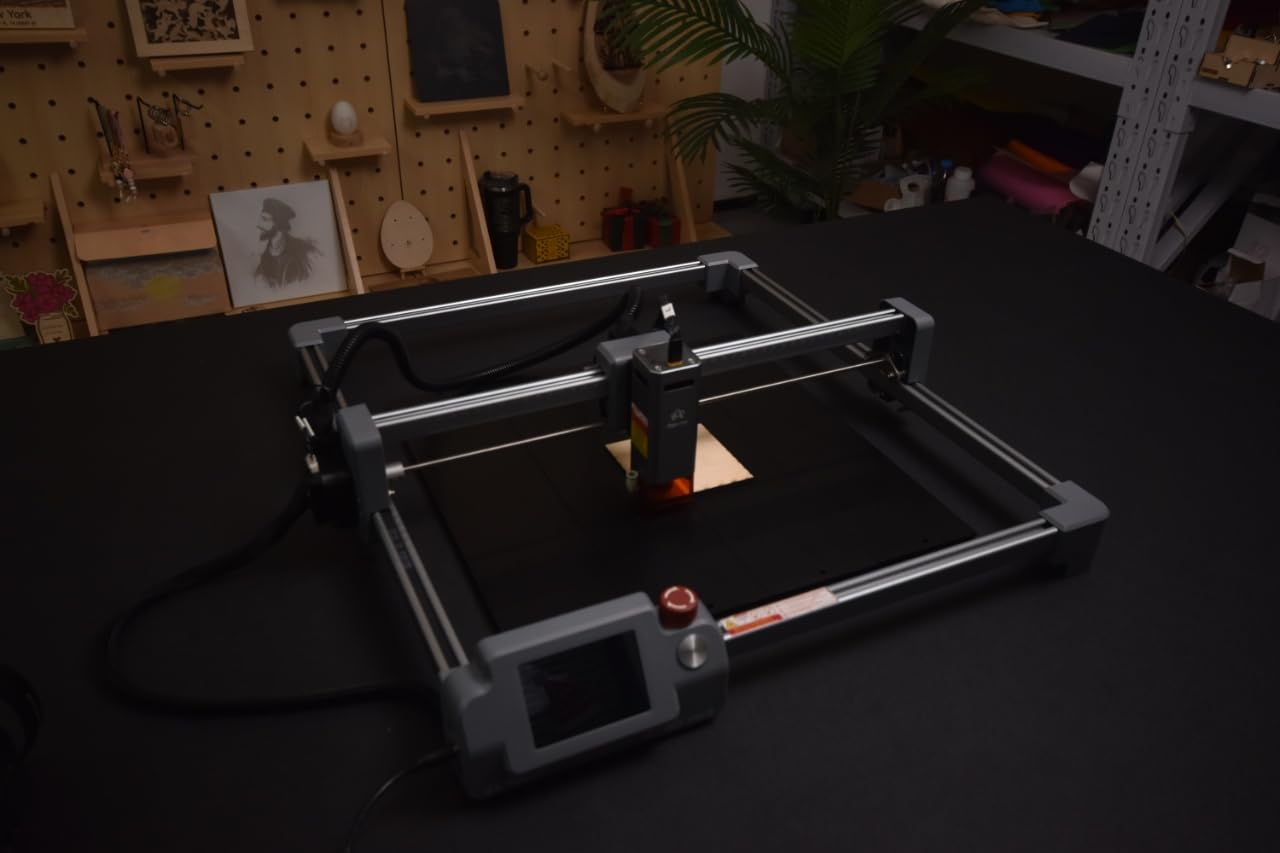
The seven-step adjustment reaches up to 150mm, the widest span among the roller-only options here, and the 42 hybrid stepper motor handles the load. It arrives pre-assembled and needs only two screws adjusted, and it works with LightBurn, LaserGRBL and the AlgoLaser app on Alpha and DIY-kit machines.
Two caveats keep it out of the top spots. It does not work with the Pixi machine, and it cannot grip rings, spheres or irregular shapes because it is a roller. With 32 ratings, treat the 4.5 as encouraging rather than settled.
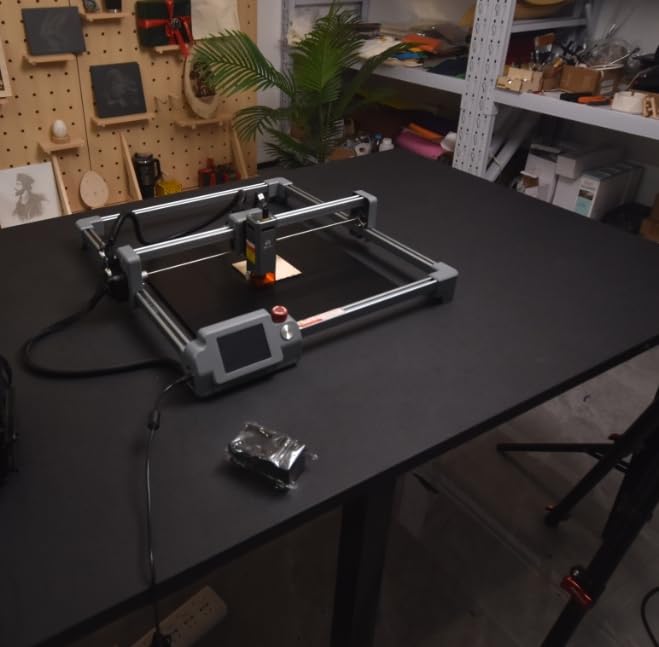
Is a no-setup roller worth giving up calibration control?
If you mostly engrave cans, bottles and pipes on a GRBL machine, absolutely. Zero rotary parameters means fewer jobs ruined by a wrong diameter entry. If you do detailed wraparound text on varied diameters, the fixed-speed approach gives you less room to fine-tune than LightBurn rotary mode.
Can it handle wide bottles and planters?
That is where the 150mm ceiling earns its place. Most budget rollers stop around 110mm, which excludes large planters, wide jars and big canisters. Check the height clearance under your gantry as well, since a wide workpiece can still sit too high or low for the focal line.
9. ORTUR YRC1.0: the Best Rotary Chuck for Rings and Jewelry
ORTUR YRC1.0, Y-axis Rotary Chuck for Most Laser Engravers, Jaw Chuck Rotary, Y-axis Rotary Roller Engraving Module for Engraving Cylindrical Objects, Wine Glass, Tumbler, Ring
Chuck, ring and sphere modes
1-120mm chuck, 25-150mm sphere, 11-100mm ring
360 degrees per second, 180 degree adjust
Aluminum, 1.69 kg
Pros
- Three modes cover rings
- balls and tumblers
- Jaw chuck grips glass and metal securely
- High precision at 360 degrees per second
- Chuck key included with a four-step install
Cons
- Costs more than roller modules
- Tailstock needs assembly and jaw adjustment
- Awkward with very long cylinders
- Review base of 98
The YRC1.0 is the pick for anyone whose work includes jewelry. It runs in three modes, chuck, ring and sphere, with a chuck range of 1mm to 120mm, a sphere range of 25mm to 150mm and a ring range of 11mm to 100mm. That three-way coverage is unusual at this price point.
Buyers who want more than plain cylinders gravitate here, and the reason is the centered jaw chuck. It grips wine glasses, tumblers, rings and balls far more securely than friction rollers, which is what makes inner-surface bracelet engraving and ring sizing marks repeatable rather than a coin flip.
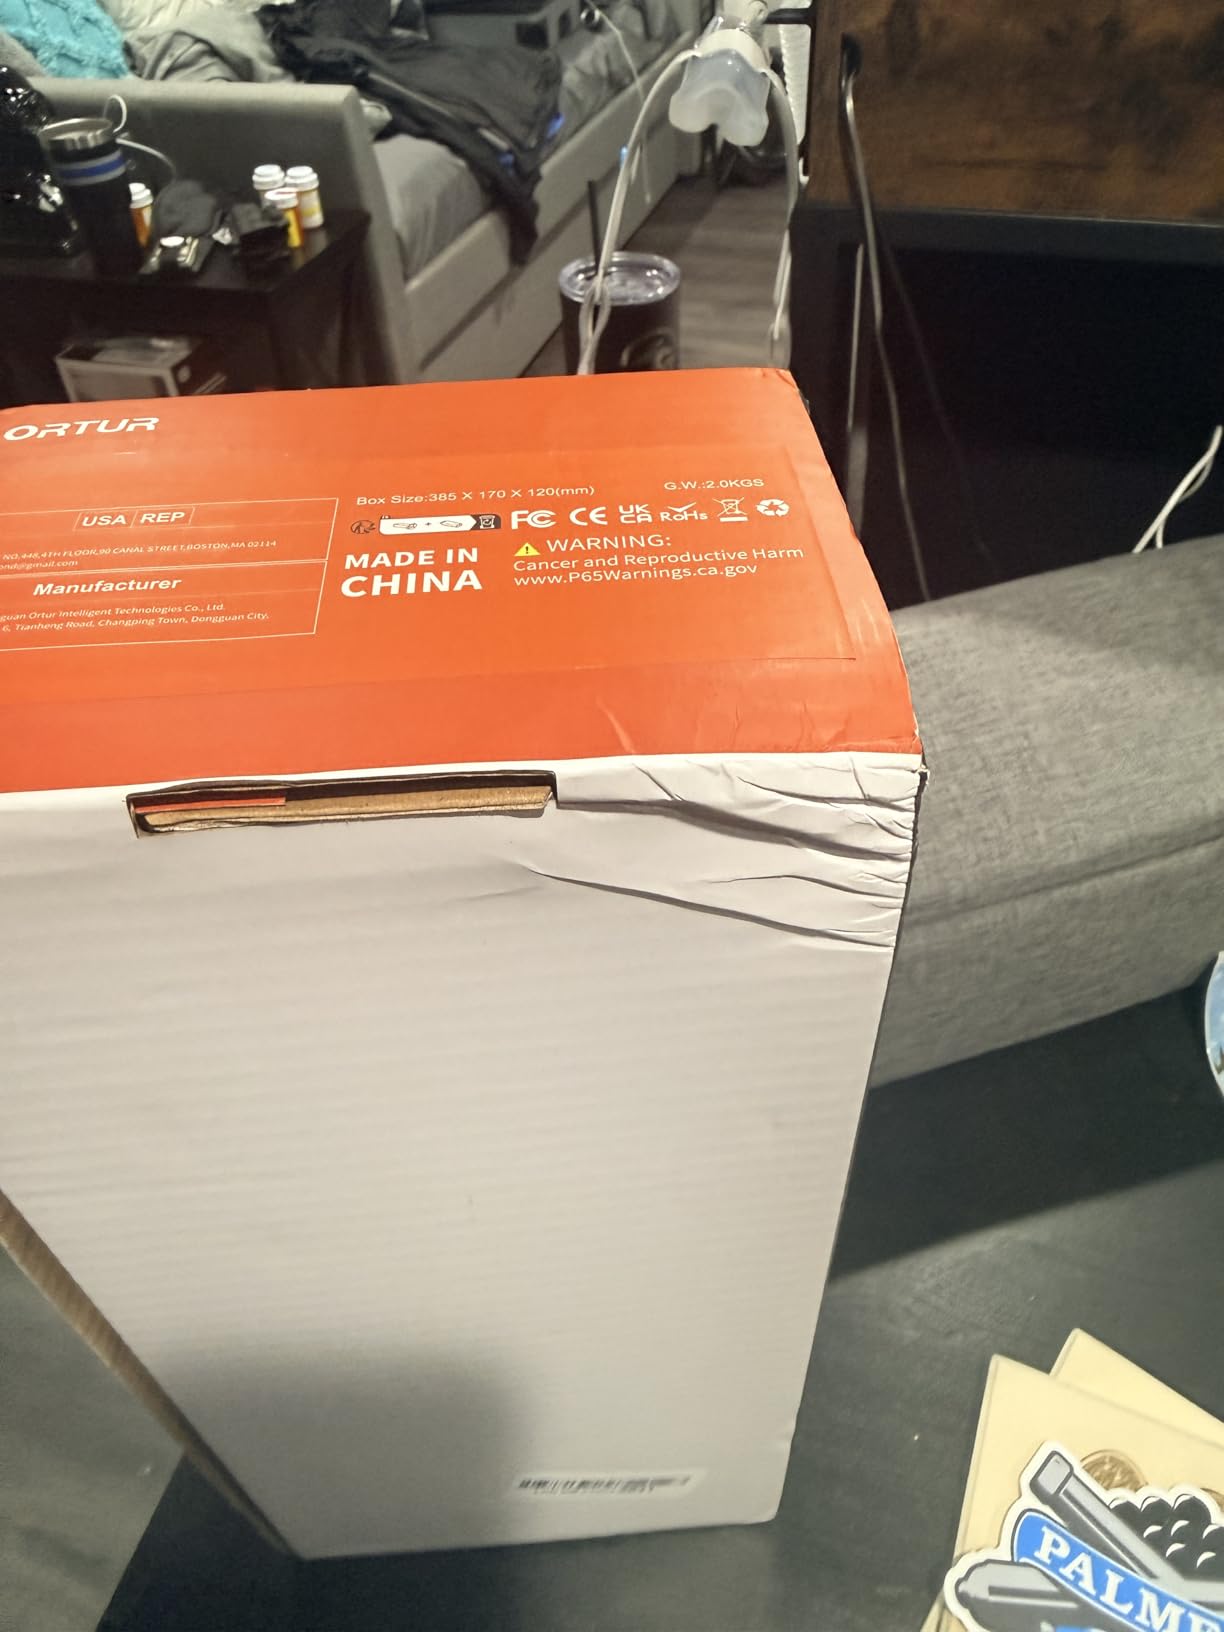
Speed and stability are strong, with ultra-high precision and stability quoted at 360 degrees per second and 180 degree angle adjustment support for inner surfaces.
It also runs on Laser Explorer, LaserGRBL and LightBurn on Windows XP through 10, Mac and Linux, and it is compatible with all ORTUR engravers plus most market machines. Buyers put the 1-star share at 7 percent of 98 ratings.
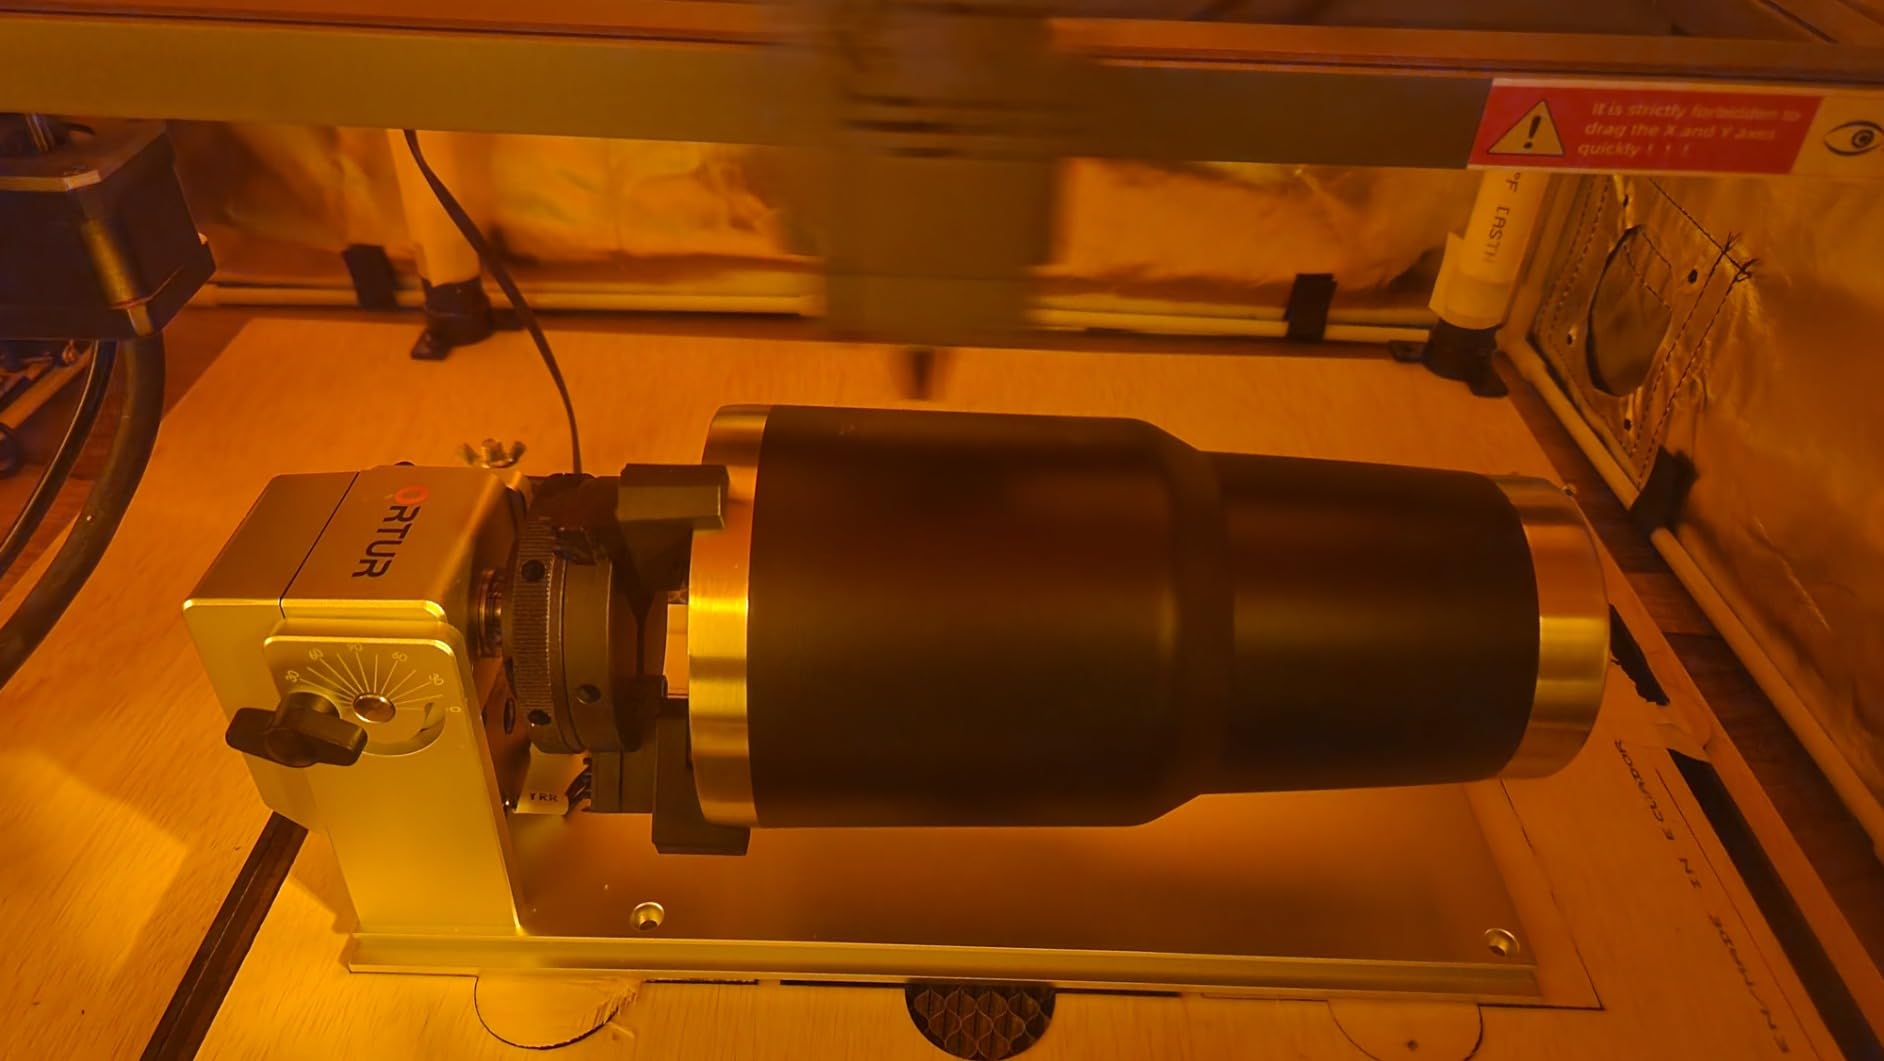
Can it engrave the inside of a bracelet?
Yes, and that is the main reason to buy it. The ring mode and 180 degree angle adjustment hold a bangle square while the mark runs around the inner wall, and the chuck range down to 1mm covers thin bands. Expect to spend time on jaw alignment before the first run.
Is the premium over a roller worth it for tumblers only?
If tumblers are genuinely all you make, a roller is faster to set up and cheaper. The chuck earns its price the moment you add rings, bangles, balls or irregular glass, because you stop losing pieces to slippage and start reusing the same setup across job types.
10. Creality Laser Rotary Roller: the Best Fit for Falcon Machines
Creality Official Laser Rotary Roller, 360° Laser Engraver Y-axis Rotary Module for Engraving Cylindrical Objects, 7 Adjustment Diameters 5mm to 120mm, Compatible with Creality Falcon/Falcon2 Engraver
7 gears from 5mm to 120mm
Lifting bracket for tapered objects
LaserGRBL and LightBurn support
2.42 pounds
Pros
- Works immediately on the Falcon 2
- Seven gears give a useful diameter spread
- Lifting bracket helps tapered bottles
- Clean and accurate engravings
Cons
- Roller width adjustment binds easily
- No micro adjustment on the rollers
- Default Y-axis acceleration throws pieces out
- Risers not included
This is the official Creality roller for Falcon and Falcon2 engravers, and most buyers confirm it works immediately on those machines. Seven selectable gears cover diameters from 5mm to 120mm, and the lifting bracket handles slender tapered objects such as wine bottles and goblets that would wobble on bare rollers.
It runs on LaserGRBL or LightBurn, and one reviewer confirms it working on a third-party machine, an Atomstack A20 Pro. At 2.42 pounds it is easy to remove and store, and the 1-star share is just 2 percent of 74 ratings.
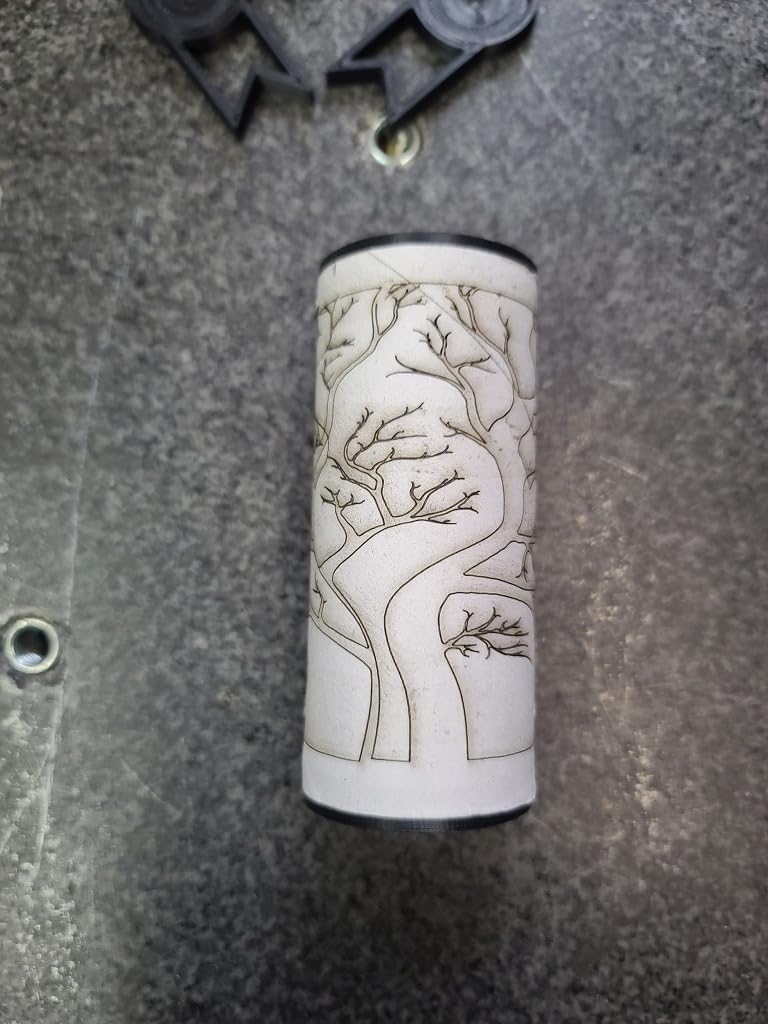
Be aware of one setup step. It requires a GRBL configuration change before use, entering a steps-per-millimeter value of 60.375 in the console and then restarting the machine. It is a documented two-minute step rather than a hidden gotcha, and once done the rotation is reliable.
The recurring complaints are mechanical. Roller width adjustment is hard to set smoothly and binds if the sides are not slid evenly, there is no micro adjustment on the roller assembly, and the default Y-axis acceleration can throw the workpiece out of position unless you slow it down. Risers or feet to raise the Falcon 2 are sold separately, and a few users report items sliding on the rollers and ruining engravings.
Is it the safe choice for a new Falcon 2 owner?
It is the low-friction choice, since the manufacturer supports it directly. If you also own a second machine, the same roller has been confirmed working on a non-Creatality board, which is unusual for a first-party accessory.
Why do pieces slide off it during a job?
Two causes account for most cases. Default Y-axis acceleration is the first, and lowering it fixes the spin-out. The second is roller width adjustment binding, which tilts the assembly and lets the workpiece creep. Set the sides evenly, slow the axis, and check the add-on rollers for tapered items, which reviewers describe as poorly designed with no easy setup.
How to Choose a Laser Rotary Attachment
If you are still choosing a machine rather than an attachment, start with our laser engraver buying guide first, because the rotary you can use is decided by the controller board underneath. Accessories come second. What follows is the order we would check things in, and it is deliberately sequenced by what disqualifies a purchase fastest.
Check compatibility before anything else
Not every laser cutter supports a rotary attachment, and a Y-axis rotary module takes over your Y travel entirely while it is connected, which means flat-bed Y work stops until you unplug it. Diode machines with a GRBL board generally accept one, xTool and LaserPecker machines usually need their own module, and Glowforge-style cloud machines need an adapter. Check whether your board exposes a Y-axis stepper output the rotary can drive.
Motor driver current is the second compatibility question. A rotary that expects more current than your board delivers will stall or skip steps, and skip steps show up as stretched artwork that no amount of software tuning will fix.
Pick the drive type that matches your workpieces
Choose a roller for runs of identical, light, straight-sided cylinders because it stages fast and centers automatically. Choose a chuck for heavy, tapered, handled or irregular pieces because three-point grip holds what friction cannot. Choose a 4-in-1 multi-function unit if you want tumblers, glassware, rings and balls from one attachment, and a rotary table if you would rather index many small flat parts than wrap a single large one.
As a general rule, grip beats diameter range. A unit that holds your piece securely at a slightly smaller maximum diameter will produce better work than a wide unit that slips.
Match diameter range and weight to your jobs
Measure the smallest and largest workpieces you plan to run before you shop. Consumer rollers commonly span 8mm to 110mm, wider rollers reach 150mm, and multi-function chucks cover 1mm to 120mm for general work with separate ranges for spheres and rings. A 30 ounce stainless tumbler is heavy and tapered, so check both the diameter range and whether the jaws can close around the taper without crushing it.
Grip and build quality decide how many jobs you finish
Judge grip by the contact surface, since rubber soft jaws, ball bearings and rubber drums all resist slippage differently on a glossy stainless tumbler. Judge build by the frame and gearing, where an aluminum alloy body and steel shaft will outlast plastic gears and bushings that wear into vibration. Finally, check whether the manufacturer publishes a steps-per-revolution value and a software setup guide, because undocumented attachments are what buyers warn each other about on laser engraving forums.
How to Set Up and Calibrate a Laser Rotary
The first setup is a short job, and the order matters, because skipping alignment is what produces most of the bad results people blame on the attachment.
1. Mount the rotary. Fix the bracket or base to the bed, keeping the Y-axis travel free. Some units need risers or feet that are sold separately, so install those before anything else.
2. Connect the Y-axis cable. Plug the rotary into the Y-axis stepper output. Several products ship with two harnesses, so try the one for your board before rewiring anything.
3. Install the workpiece. Set the chuck jaws or roller drums to the piece diameter, tighten evenly and confirm the part sits square. For a tapered tumbler, level it so the focal distance stays constant around the circumference, and check the setup with a rotary laser level if your bed is not perfectly flat.
4. Set the height. Raise or lower the rotary so the laser head reaches the correct focal distance at the engraving height, not at the bed surface. This is the single most common cause of inconsistent darkness around a cylinder.
5. Configure the rotary parameters. In LightBurn or LaserGRBL, set pulses per revolution, object diameter, split size and invert. Pulses per revolution is the motor’s step count for one full turn, object diameter tells the software how to scale and wrap the artwork, split size controls the width of the gap where the wrap restarts, and invert flips rotation direction when your text comes out mirrored. Some rollers match the original Y-axis linear speed and need no entry at all.
6. Preview and run a test. Preview in rotary mode, confirm the artwork wraps rather than spanning the bed, then run a simple rectangular test mark and check the diameter with calipers before committing a paid job.
Fixing Common Rotary Engraving Problems
Almost every rotary engraving problem traces back to one of five things. Here is how to tell them apart.
The engraving is stretched or compressed around the cylinder. This is nearly always a wrong object diameter or a wrong pulses per revolution value, and occasionally an uncalibrated steps per millimeter setting. Measure the actual workpiece, re-enter the diameter and confirm the step count against the manufacturer’s published figure, then re-run your test rectangle and check it with calipers.
There is a visible line where the design wraps. That is the split. Increase split size slightly so the overlap is hidden by the artwork itself, and check alignment by engraving a single continuous horizontal line around the whole part. If the line is visible in a plain rectangle, the problem is mechanical alignment, not software.
The artwork comes out mirrored or upside down. Toggle the invert setting and mirror the job in your design software. Which one you need depends on your rotation direction, so try it on a test file rather than on 40 tumblers.
The workpiece slips mid-job. Slow the Y-axis or rotation speed first, since a fast pass outruns friction. Then add friction rather than pressure, with rubber soft jaws, a non-slip pad or a ferrule-style clip. On a tapered tumbler, level the part so the axis of rotation matches the machine bed.
The rotary does not move at all. Confirm the mode switch is set to rotary, that the Y-axis travel is not disabled elsewhere in the control software, and that the motor driver current matches what the rotary expects. Some boards also need the documented GRBL parameter change before the module is recognised.
Frequently Asked Questions
What is a good rotary tool for engraving?
A good rotary attachment for a laser engraver is one that grips your workpiece without slippage, covers the diameter range you actually use, and is supported by published setup values. For tumblers, bottles and cans on a diode or CO2 machine, a roller rotary such as the ORTUR or AlgoLaser is the practical choice. For rings, bracelets and spheres, a jaw chuck with ring and sphere modes such as the ORTUR YRC1.0 is better. The accessory is only half the job, so buy one with a clear steps-per-revolution value and a setup guide.
Do all laser cutters support rotary attachments?
No. Most GRBL-controlled diode machines expose a Y-axis output that a rotary module can drive, which covers a large share of the market. Machines with proprietary control boards, including several xTool, LaserPecker and cloud-connected platforms, generally need a manufacturer module or an adapter. A Y-axis rotary also takes over your Y travel while connected, so flat-bed Y work stops until you unplug it. Check your board and its driver current before you buy.
Can I use a laser rotary with a diode laser?
Yes, and most diode machines are the easiest case. A diode laser on a GRBL board usually has a spare Y-axis stepper output, and roller modules for these machines ship with two wiring harnesses to cover different board layouts. Set the Y-axis speed lower than default so the workpiece does not spin out of position, and confirm your driver current matches the rotary. Chuck modules with heavier motors are less common on diode frames because of bed weight limits.
How do you calibrate a laser rotary?
Mount the rotary, connect the Y-axis cable, and set the workpiece height so the laser reaches the correct focal distance. In LightBurn or LaserGRBL, enter pulses per revolution and the measured object diameter, then set split size and invert. Run a simple rectangular test mark, measure it with calipers, and adjust the diameter value until the mark matches the real part. Some rollers match the original Y-axis linear speed and need no rotary parameters at all.
Why is my rotary engraving stretched or compressed?
A wrong object diameter is the usual cause, followed by an incorrect pulses per revolution value and an uncalibrated steps per millimeter setting. Measure the real workpiece with calipers rather than trusting the listed size, re-enter it in the rotary settings, and confirm the step count against the manufacturer’s published value. Re-run a plain test rectangle: if it is still wrong, check that the workpiece sits square and that the rotary is not binding on the rollers.
What materials work best with a laser rotary?
Wood, acrylic, glass, coated metals, anodized aluminum, leather and painted surfaces engrave well on a rotary. Glossy stainless tumblers engrave cleanly but demand reliable grip, because the reflective finish shows every bit of slippage as a smeared mark. Avoid highly reflective bare metal and unevenly shaped items, since both reflect energy unpredictably and make alignment harder. Tapered walls need leveling so the focal distance stays constant around the circumference.
Our Verdict on the Best Rotary Attachments for Laser Engravers
The xTool RA2 Pro is the best rotary attachment for laser engravers in 2026, and the reason is breadth. Four working modules, a 4.6 average across 396 ratings and setup that does not fight you make it the attachment we recommend to almost anyone. If your machine is not an xTool, the ORTUR Laser Rotary Roller at 723 reviews is the value pick that proves a roller can be a shop workhorse, and the ORTUR YRC1.0 is the answer when rings and bracelets are on the order sheet.
Everything else in this roundup is a specialist. The Longer roller wins on near-universal wiring, the Creality Rotary Roller Pro on fragile glassware, the AlgoLaser RR2 on a 150mm diameter ceiling with no software setup, the OMTech chuck on heavy 50W-plus CO2 production, and the xTool RA3 on tool-free magnetic module changes if you own a P3.
Whichever you choose, buy it for grip rather than for headline diameter, and give the calibration an honest afternoon. Start with a test rectangle, measure it with calipers, and you will not be guessing at settings again. Our picks for the best rotary attachments for laser engravers will be here as new firmware and software land, so check back before your next upgrade.