
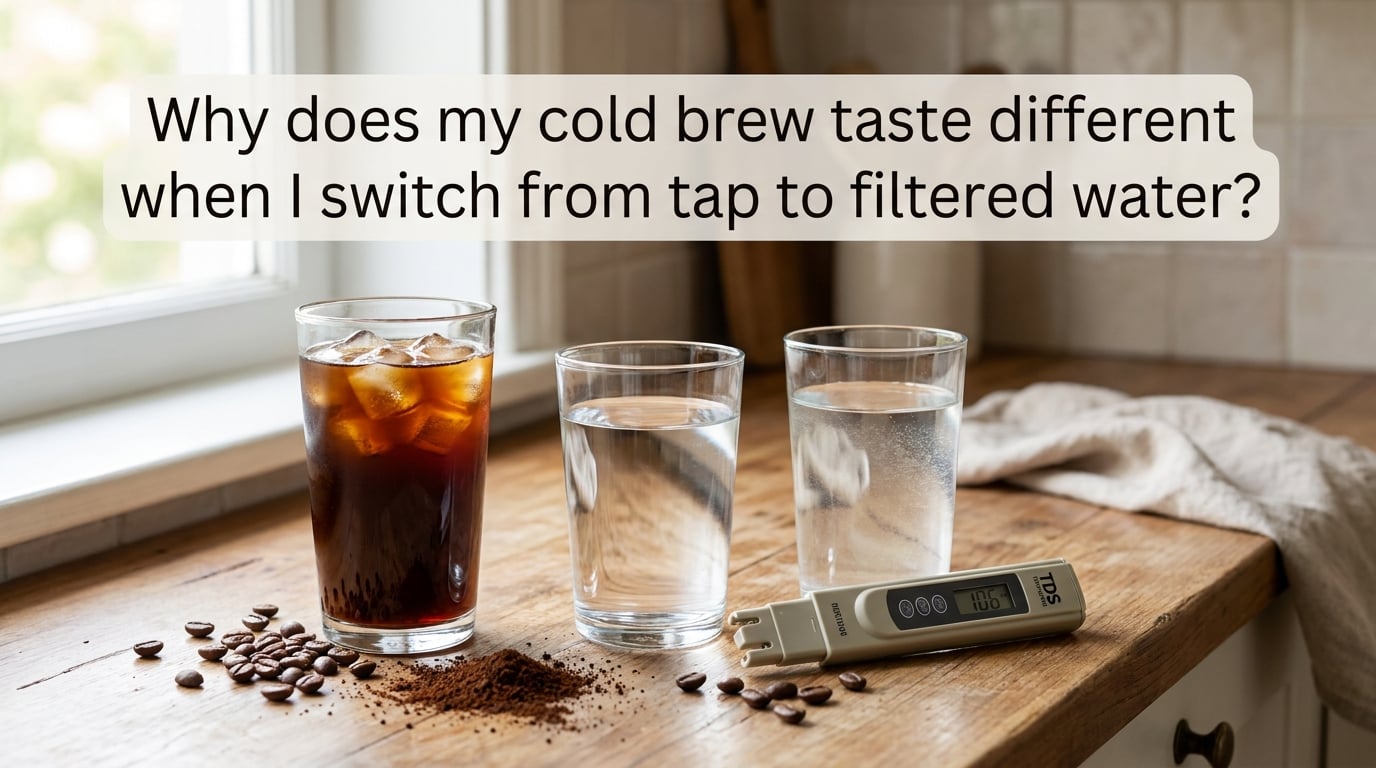
You brewed the same beans, used the same ratio, let it steep the same 14 hours. But the cup tastes thinner, sweeter, or just plain off. I have been there, and after running blind tests across three different water sources in my own kitchen, I can tell you exactly what is happening.
The short answer: filtered water changes your cold brew because it strips out the minerals (and often the chlorine) that were shaping how your coffee extracted. Cold brew is 95 to 98 percent water, so even small changes in what is dissolved in that water create big flavor swings. In this guide, I will walk you through the chemistry, the TDS numbers to aim for, the off-flavors that signal a water problem, and how to test your tap water in under five minutes so you can stop guessing.
Table of Contents
Why Does My Cold Brew Taste Different With Filtered Water?
Filtered water changes your cold brew because most filters strip calcium, magnesium, and bicarbonate from tap water, and those minerals are the carriers that pull flavor compounds out of coffee grounds. At the same time, filters remove chlorine and chloramine, which means any “masking” bitterness those chemicals created is also gone.
That sounds like it should make coffee taste better. And often it does. But if you strip everything out (as a basic carbon filter or reverse osmosis system does), you also remove the mineral scaffolding your coffee needs to extract properly. The result is a cup that can taste flat, sour, or hollow.
Cold brew is especially sensitive to water changes because of the long contact time. Where a pour-over finishes in three minutes, cold brew sits with the grounds for 12 to 24 hours. That extended window gives minerals and water chemistry a much bigger role in shaping flavor.
How Tap Water and Filtered Water Differ in Mineral Content
Tap water in most U.S. cities contains between 50 and 300 parts per million (ppm) of total dissolved solids, mostly calcium, magnesium, sodium, and bicarbonates. That mineral profile is not random. Your local water utility blends sources to hit specific targets for pipe protection and taste.
Filtered water depends entirely on the filter. A basic pitcher carbon filter (like a Brita) removes chlorine and some heavy metals but leaves most minerals behind. A reverse osmosis (RO) system removes 95 to 99 percent of everything, leaving near-pure H2O. An under-sink multi-stage filter usually sits somewhere in between.
Here is a quick side-by-side of what you are likely working with:
- Tap water: 50 to 300 ppm TDS, contains chlorine or chloramine, has calcium and magnesium, may carry trace metals from old pipes.
- Carbon-filtered water: 40 to 280 ppm TDS, chlorine removed, minerals mostly preserved, occasional “filter taste” early in cartridge life.
- Reverse osmosis water: 5 to 30 ppm TDS, almost everything removed, flat-tasting, often remixed with a mineralization cartridge.
- Distilled water: 0 to 5 ppm TDS, no minerals at all, not recommended as a standalone brewing water.
- Bottled spring water: 50 to 500 ppm TDS, varies wildly by brand, generally good mineral balance.
Notice how much overlap there is between tap and carbon-filtered water on TDS. That overlap is why some people switch to a pitcher filter and notice almost no change. The real difference kicks in when you move to RO or distilled, where the mineral drop is dramatic.
The Role of Minerals in Coffee Extraction Chemistry
Minerals do not just “add flavor” to your coffee. They actively drive the extraction process. Calcium and magnesium ions help pull acidic and aromatic compounds out of the coffee grounds, while bicarbonate acts as a buffer to keep the brew from sliding into harsh, sour territory.
The Specialty Coffee Association (SCA) recommends brewing water with 50 to 175 ppm of calcium hardness. Below that, extraction suffers. Above it, scale builds up on equipment and flavors skew mineral-heavy. For cold brew specifically, I have found that aiming slightly higher in the 75 to 250 ppm range produces a rounder, sweeter cup because of the longer contact time.
When you switch from mineral-rich tap water to stripped filtered water, you are essentially removing the “workers” that help dissolve coffee solids. The same beans, the same grind, the same steep time, but fewer mineral helpers on the job. That is why your cold brew can suddenly taste weak or oddly acidic.
Magnesium in particular is a flavor enhancer. Studies from the SCA and brewing chemist Dr. Christopher Hendon have shown that magnesium-heavy water pulls out more of the bright, fruity, and floral notes in coffee. Calcium, by contrast, tends to bring out richer, chocolatey tones.
Chlorine, Chloramine, and Off-Flavors in Tap Water
Chlorine is added to municipal water to kill bacteria, but it does not belong in coffee. Even at low levels, chlorine reacts with phenolic compounds in coffee to create chlorophenols, which taste medicinal, plastic-like, or just plain “off.”
Many cities have switched from chlorine to chloramine because chloramine lasts longer in the distribution system. Chloramine is harder to remove. Basic carbon filters handle chlorine well but only reduce chloramine by about 50 percent. You need catalytic carbon or a more advanced system to strip chloramine fully.
This is one of the biggest reasons filtered water tastes “cleaner” in cold brew. Once the chlorine or chloramine is gone, the coffee’s natural flavor profile comes through. But the change can be jarring if you are used to your tap’s specific chemical signature.
If your cold brew suddenly tastes sweeter but you miss some of the body, chlorine removal is probably the reason. The sweetness was always there. The chlorine was just covering it up.
TDS and pH: The Numbers Behind Better Cold Brew
TDS stands for Total Dissolved Solids, and it is the single most useful number for predicting how water will behave in your cold brew. Most specialty coffee professionals target 75 to 250 ppm TDS for brewing. Below 50, the water is “soft” and under-extracts. Above 300, it is “hard” and can taste flat or mineral-heavy.
pH matters too. Pure water sits at 7.0, but most brewing water lands between 6.5 and 8.5. For cold brew, the sweet spot is pH 6.5 to 7.5. Too high (alkaline) and the brew tastes dull and soapy. Too low (acidic) and the coffee tastes sour and thin.
The good news is that a TDS meter costs about $15 and gives you an answer in seconds. If you are serious about consistent cold brew, this is the cheapest upgrade you can make. I keep one in my kitchen drawer next to the brewer.
Quick reference for your fridge filter or tap:
- TDS 50 or below: Too soft. Remineralize before brewing.
- TDS 75 to 250: Ideal range for cold brew.
- TDS above 300: Too hard. Dilute with filtered or remineralized water.
- pH 6.5 to 7.5: Target zone.
Common Cold Brew Taste Problems Caused by Water Changes
When you switch water sources and the flavor shifts, here is how to read what your cup is telling you:
- Flat or hollow taste: TDS is probably too low. Your water stripped almost all minerals, and there is nothing left to extract.
- Sudden sourness: Either TDS is too low or pH dropped below 6.5. The coffee cannot buffer properly without enough minerals.
- Metallic or chemical edge: Old pipes or a fresh carbon filter that still has loose carbon fines. Run a few gallons through a new filter before brewing.
- Bitter or harsh finish: This one surprises people, but overly hard water can over-extract certain compounds during a long steep. Try diluting.
- Inconsistent results week to week: Seasonal tap water shifts. Many utilities change source water in spring or fall, which changes your mineral profile without you realizing.
The last point is one I learned the hard way. My cold brew was perfect all summer and then turned weird in October. After testing, I found my city’s water utility switched from reservoir-fed to river-fed water, and the TDS jumped from 90 to 180 ppm overnight.
How to Test Your Water at Home in 5 Minutes
You do not need a lab. A handheld TDS meter ($15 to $25 online) and some pH strips ($10) are enough to characterize your water and make smart brewing decisions.
Step 1. Fill a clean glass with the water you plan to brew with. Let it sit for 30 seconds so any bubbles dissipate.
Step 2. Dip the TDS meter in and wait for the reading to stabilize. Note the number in ppm.
Step 3. Dip a pH strip in the same water and compare the color to the chart on the packaging. Note the pH.
Step 4. If TDS is below 50 or above 300, you need to adjust. For low TDS, add a remineralization drops product like Third Wave Water or a pinch of food-grade magnesium sulfate. For high TDS, dilute with distilled or RO water.
Step 5. Brew a small test batch, taste, and adjust. Repeat until you land on a profile you like.
I keep a small notebook in my kitchen with the TDS and pH of every water source I have tried. That log makes seasonal changes obvious and saves me from chasing flavor problems that are really water problems.
Choosing the Best Water for Cold Brew
After testing more than a dozen water sources over two years, here is what I have found works best for cold brew at home, in order of ease:
- Filtered fridge water with a quality carbon filter: Easiest option. Removes chlorine, keeps minerals, and is essentially free after the initial filter purchase.
- Bottled spring water with TDS between 75 and 200: Reliable and consistent. Check the label or test the bottle. Brands vary widely.
- Reverse osmosis water plus mineral drops: The “enthusiast” choice. Total control, but costs more and takes extra time.
Avoid distilled water for cold brew unless you are remineralizing it. With nothing dissolved in the water, extraction stalls and you get a thin, almost watery cup. Reverse osmosis is fine because most people run it through a remineralization cartridge before it hits the tap.
Whichever route you pick, consistency matters more than perfection. Pick a water source, test it once, and stick with it. Your cold brew will taste the same every time, which is what most of us actually want from our morning ritual.
Frequently Asked Questions
Should you use filtered water for cold brew?
Yes, filtered water is generally a good choice for cold brew because it removes chlorine and chloramine that create off-flavors. The key is using a filter that preserves minerals like calcium and magnesium. Basic carbon pitcher filters work well. Reverse osmosis water should be remineralized before brewing.
Why does my water taste weird after changing the filter?
New carbon filters can release loose carbon particles and trapped air for the first few gallons, creating a bitter or dusty taste. Run 3 to 5 gallons of water through a new filter before using it for cold brew. If the off-taste persists, the filter may be old and need replacement.
Why does my cold brew coffee taste weird?
Weird cold brew usually comes from one of three causes: stale or low-quality beans, incorrect steep time (too long creates bitterness, too short creates sourness), or water chemistry issues. Test your TDS and pH first. If those are in range, check your beans and steep time.
Should I stir cold brew before filtering?
A gentle stir before filtering helps settle the grounds and creates an even bed for filtration, which reduces fines in your final cup. Avoid aggressive stirring, which can break up the grounds and make filtering harder. Just a few slow rotations with a spoon is enough.
Can I use tap water to make cold brew coffee?
You can use tap water for cold brew, and many people do with great results. The quality depends on your local water supply. Test your TDS first. If it lands between 75 and 250 ppm and you do not notice chlorine taste, your tap water is probably fine for cold brew.
Final Thoughts: Get the Water Right and Your Cold Brew Will Follow
If your cold brew tastes different after switching from tap to filtered water, the water is doing exactly what water does. It is the main ingredient, and it shapes everything your grounds give up. Test your TDS, watch your pH, and pick a source you can rely on day after day.
The whole investigation takes less than ten minutes once you have a meter, and the payoff is consistent cold brew for the rest of 2026. Start with the easy wins: replace an old filter, check your TDS, and try a different water source side by side. You will taste the difference immediately, and you will never go back to guessing.