
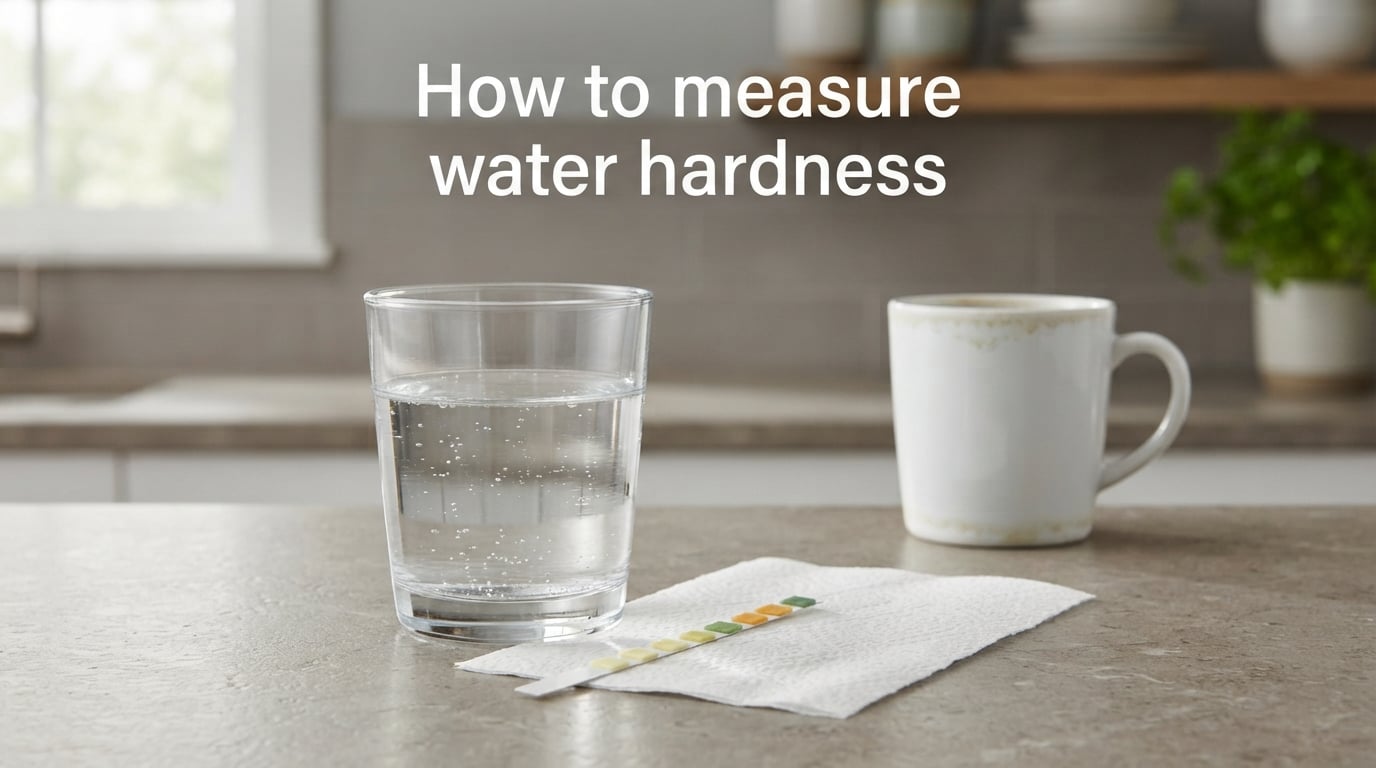
I moved into my first apartment with hard water and didn’t know it until the shower screen turned cloudy white. By month three, my kettle had a half-inch of limescale, and the dishwasher started leaving spots on every glass. That was the week I learned how to measure water hardness the hard way, and I have been testing mine ever since.
Whether you are on a municipal supply, drawing from a private well, or keeping an aquarium, measuring water hardness is one of the most useful things you can do for your pipes, your appliances, and your skin. In this guide, I will walk you through exactly how to measure water hardness using methods I have personally tried, from a no-cost soap test to a professional-grade titration kit. You will also find out what the numbers actually mean once you have them.
Table of Contents
What Is Water Hardness and Why Should You Measure It?
Water hardness is simply the amount of dissolved calcium and magnesium minerals in your water supply. The more of these minerals your water contains, the harder it is. According to the U.S. Geological Survey, hardness is calculated as the total concentration of calcium carbonate equivalents, measured in milligrams per liter (mg/L) or parts per million (ppm).
Hard water is not a health hazard for most people, but it causes three real problems. First, it reduces soap effectiveness and leaves a sticky film on skin and hair. Second, it builds up scale inside pipes, water heaters, and appliances, cutting their lifespan by years. Third, it leaves white spots on dishes, glasses, and shower doors that no amount of scrubbing seems to fix.
There are two main types of hardness you should know about. Temporary hardness comes from calcium and magnesium bicarbonate, which breaks down when boiled. Permanent hardness comes from calcium sulfate and chloride, which stays in solution even after boiling. Total hardness is the sum of both, and that is the number most tests report. To understand how minerals interact with other parts of your water system, our piece on water filtration and mineral content explains it further.
Water Hardness Measurement Units Explained
Water hardness is reported in three main units, and they all measure the same thing. Knowing how to convert between them saves a lot of confusion when comparing test results across different sources.
Grains per gallon (gpg) is the unit most used by water softener companies in the United States. One grain equals 64.8 milligrams of calcium carbonate dissolved in one gallon of water. This unit dates back to the 18th century and got its name from actual grains of wheat used in early soap-making tests.
Parts per million (ppm) and milligrams per liter (mg/L) are nearly identical for water testing, since one liter of water weighs one kilogram. They tell you how many milligrams of calcium carbonate equivalent are present per liter of water.
Here is the conversion formula you will use most often: 1 gpg equals 17.1 ppm (or mg/L). To convert ppm to gpg, divide by 17.1. To convert gpg to ppm, multiply by 17.1. For example, water with 120 ppm hardness equals about 7 gpg, which falls in the hard range. Some international sources use French degrees (fH) or German degrees (dH), where 1 fH equals 10 mg/L CaCO3 and 1 dH equals 17.86 mg/L CaCO3.
Water Hardness Classification Scale
The USGS classification scale is the standard most water professionals reference. Use the table below to figure out where your water falls on the soft-to-very-hard spectrum.
Hardness classification (USGS):
- Soft: 0 to 3.5 gpg (0 to 60 mg/L or ppm)
- Moderately hard: 3.5 to 7 gpg (61 to 120 mg/L or ppm)
- Hard: 7 to 10.5 gpg (121 to 180 mg/L or ppm)
- Very hard: over 10.5 gpg (over 180 mg/L or ppm)
If your reading is 120 ppm, that puts you right at the boundary between moderately hard and hard water. Most homes that fall into the hard or very hard category benefit from some form of softening, either a whole-home system or a targeted solution for appliances like the dishwasher and washing machine. The Water Quality Association recommends testing annually because hardness levels can shift as your municipality blends sources or as your well water chemistry changes seasonally.
How to Measure Water Hardness at Home: 4 Testing Methods
You have four reliable options for measuring water hardness at home, ranging from free to laboratory-grade. I have used all four, and each has its place depending on how precise you need to be.
Method 1: The Liquid Soap Test (Free, Low Accuracy)
The soap test is the cheapest way to get a rough idea of hardness. It works because soap lathers easily in soft water but struggles in hard water, where the calcium binds with soap molecules to create scum instead of suds.
Here is how to do it:
- Fill a clear bottle or jar with about half a cup of water from your tap.
- Add 10 drops of pure liquid castile soap (Dawn and similar dish soaps contain additives that throw off results, so stick to plain castile).
- Cap the bottle and shake it hard for 30 seconds.
- Look at the bubbles. Lots of long-lasting suds means soft water. Sparse bubbles and a milky, cloudy look means hard water.
This method is great for a yes/no answer but will not give you a number. If you want a number, move on to the next two options.
Method 2: Hard Water Test Strips (Budget, Moderate Accuracy)
Test strips are the most popular DIY option. You dip a strip in water, wait a fixed time, and compare the color change to a chart on the bottle. Most strips cost under $15 for 50 tests.
Steps for accurate strip testing:
- Run cold water from your tap for 30 seconds to clear standing water from the lines.
- Fill a clean glass with the fresh water sample.
- Dip the strip in for the exact number of seconds listed in the instructions (usually 1 to 3 seconds).
- Pull it out without shaking off excess water.
- Wait the recommended time (usually 15 to 30 seconds) for the color to fully develop.
- Hold the strip next to the color chart under natural daylight for the best match.
Test strips work fine for casual checks, but forum users on r/WaterTreatment and r/HomeImprovement often report inconsistent readings, especially when comparing results across batches. For a number you can trust to size a water softener, step up to titration.
Method 3: Drop Titration Kit (Best Home Accuracy)
Drop titration kits are the gold standard for home testing. You add indicator solution to a water sample, then drop in a titrant one drop at a time until the color changes. Each drop corresponds to a known amount of hardness, so you can count drops and calculate your exact hardness. The Hach 5-in-1 test kit is the brand most trusted by water treatment professionals and aquarium hobbyists alike.
Steps for a titration test:
- Rinse the kit’s sample tube with the water you are testing to avoid contamination.
- Fill the tube to the marked line (usually 5 mL) with your water sample.
- Add one drop of the indicator solution (it will turn the sample red or pink if hardness is present).
- Slowly add the titrant drop by drop, swirling the tube after each drop.
- Count the drops until the sample turns from red or pink to clear blue.
- Multiply your drop count by the conversion factor in the kit instructions (commonly 20 ppm per drop, so 5 drops equals 100 ppm).
For those on a tighter budget, aquarium GH (general hardness) and KH (carbonate hardness) drop kits from brands like API or NT Labs work just as well for total hardness readings and cost about $10. Local fish stores often stock them.
Method 4: Professional Lab Testing (Highest Accuracy)
If you want a comprehensive picture of your water, send a sample to a certified lab. Most state health departments, private labs, and even some extension offices offer water analysis for under $150. Lab reports usually include hardness along with contaminants like lead, nitrates, and chlorine byproducts.
For well water users, a lab test is the only way to get reliable results, since well water hardness can vary dramatically with rainfall, depth, and surrounding geology. Many labs will send you a sterile sample bottle with a chain-of-custody form. You fill it, ship it back, and get results in about a week.
How to Interpret Your Water Hardness Test Results
Once you have a number, the question becomes what to do with it. Anything under 7 gpg (120 ppm) is generally tolerable for most households without treatment. Between 7 and 10.5 gpg, you will start seeing scale buildup and may want to install a softener. Above 10.5 gpg, a softener is almost always worth the investment.
When sizing a softener, water treatment pros use your hardness number along with your daily water usage. A typical family of four uses about 300 gallons per day. If your hardness is 15 gpg, you need a softener rated to handle 4,500 grains of removal per day (15 gpg x 300 gallons). Sizing correctly matters because an undersized unit wastes salt and regenerates constantly, while an oversized unit costs more upfront than you need.
If you are an aquarium keeper, the stakes are a little different. Most freshwater fish thrive between 4 and 12 gpg (70 to 200 ppm), but sensitive species like South American tetras prefer very soft water below 4 gpg. Live plant tanks often need specific KH ranges to keep pH stable. Always match your species’ needs rather than chasing a single universal target.
Frequently Asked Questions
How to measure hardness of water at home?
The easiest home method is a drop titration kit. Fill a sample tube with tap water, add one drop of indicator solution, then add titrant one drop at a time while swirling. Count the drops until the color changes from red or pink to blue, then multiply by the kit’s conversion factor. For a free option, the soap lather test gives you a rough yes-or-no answer but no number.
Is 120 ppm hard water?
Yes, 120 ppm is considered hard water. The USGS classifies water above 120 ppm (about 7 gpg) as hard. Anything above 180 ppm (10.5 gpg) is very hard. At 120 ppm you will start noticing soap scum, scale buildup, and spots on dishes, and most homeowners at this level consider installing a water softener.
How do I find my water hardness level?
Start with your local water utility’s annual Consumer Confidence Report, which is usually posted online and lists hardness in ppm or gpg. If you are on a private well, you will need to test your water yourself using strips, a titration kit, or a certified lab. Home test kits give results in minutes and cost between $10 and $40.
Can you use Dawn to test for hard water?
Dawn dish soap is not reliable for hardness testing because it contains synthetic surfactants, fragrances, and other additives that affect lathering regardless of water hardness. For a basic lather test, use pure castile soap with no additives. The lather test only tells you if water is hard or soft; it cannot give you a specific number.
Are water hardness test strips accurate?
Test strips are accurate to within about 1 to 3 gpg when used correctly. They work well for quick checks but can give inconsistent readings if the strip is dipped too long, read at the wrong time, or compared under poor lighting. For sizing a water softener or matching aquarium parameters, drop titration kits or professional lab tests are more reliable.
What is the most accurate way to test water hardness?
A certified water laboratory using EDTA titration is the most accurate method, often accurate to within 0.1 gpg. For home use, a drop-count titration kit like the Hach 5-in-1 is the next best option and is accurate to about 0.5 gpg. Test strips are convenient but the least accurate of the three.
Final Thoughts on Measuring Water Hardness
Knowing how to measure water hardness puts you in control of one of the most overlooked parts of household maintenance. Pick a method that matches your need for precision, test your water, and use the classification scale to decide whether you need a softener, a filter, or no treatment at all. A single $15 test kit can save you from thousands of dollars in appliance replacement down the road.
If you found this guide helpful, share it with a neighbor or a fellow aquarium hobbyist. The more people who test their water, the less limescale gets to win.